jmeriaux
This user hasn't shared any biographical information
Homepage: http://ngc1976.org
Moon Mosaic Application with Claude Code
Posted in Astrophotography, Moon on September 19, 2026
A lunar mosaic needs the same finishing work as a solar one — joining overlapping frames, then deconvolution, sharpening, and dealing with the high dynamic range between the sunlit surface and the terminator. I used to do all of that by hand in Photoshop.
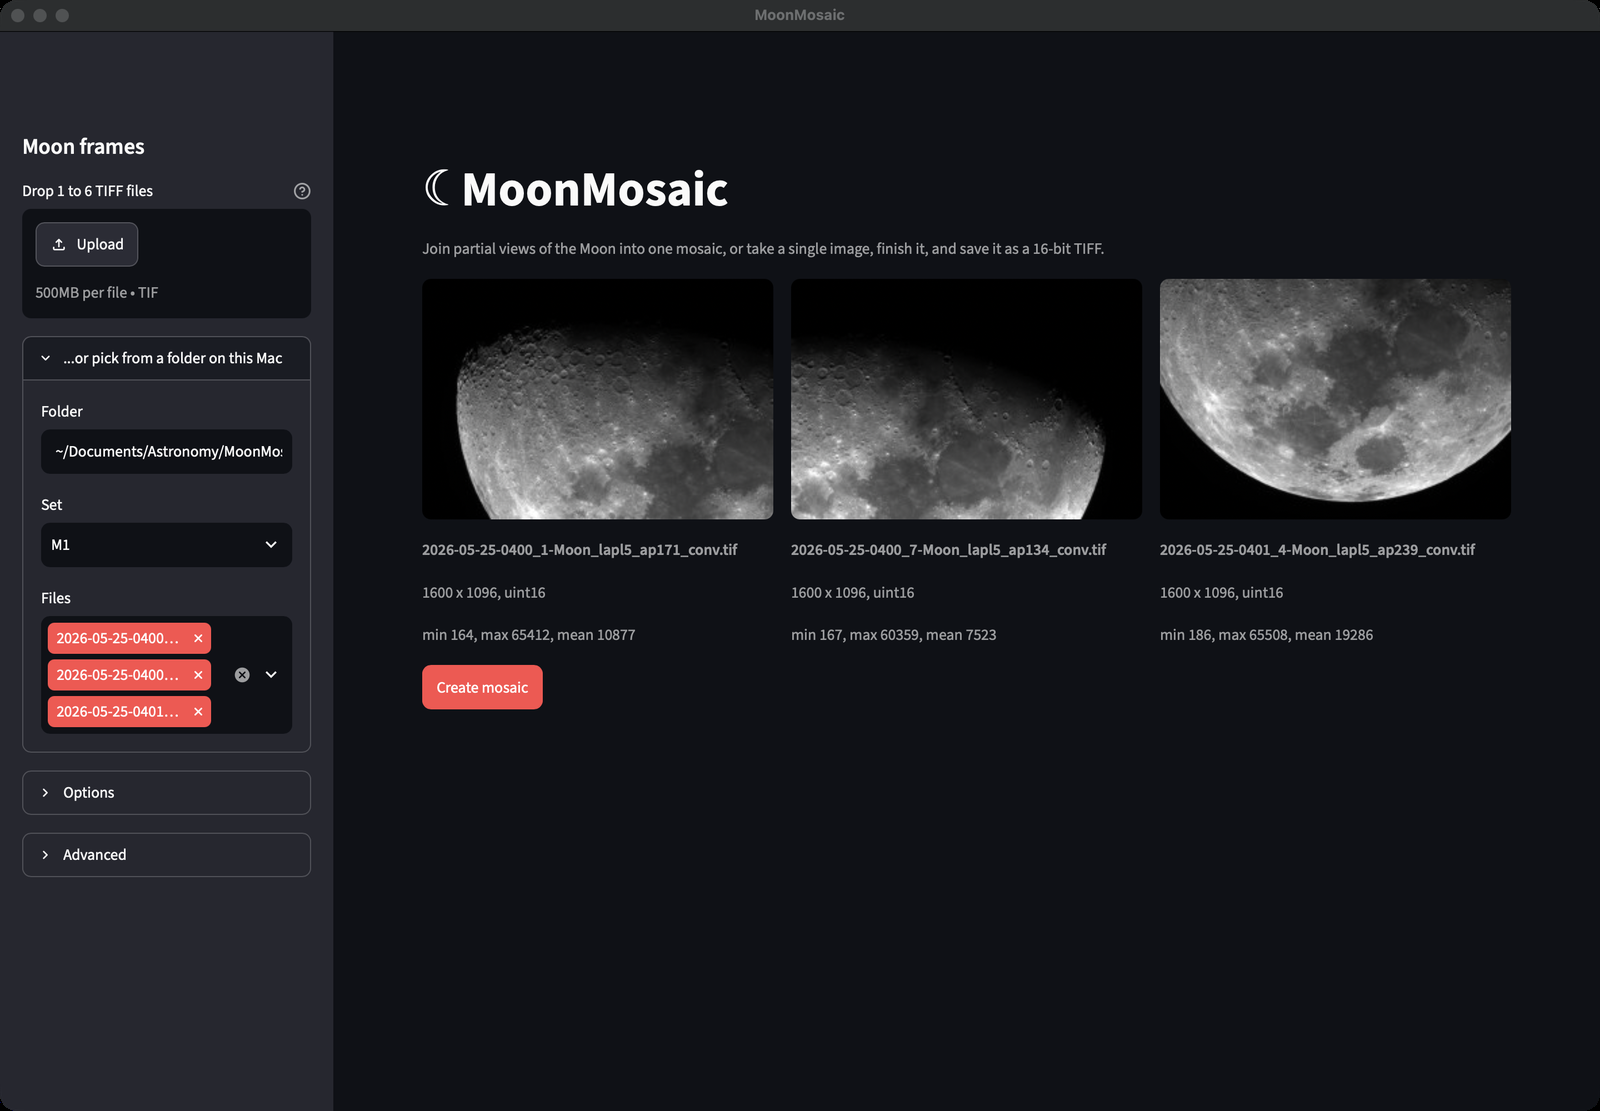
I built MoonMosaic with Claude Code — similarly to SunMosaic. It joins 2 to 6 overlapping frames into one mosaic, or takes a single shot as it is, then offers the finishing steps a lunar image usually needs: deconvolution, sharpening, flip, rotation, and a terminator layer that tames the Moon’s dynamic range.
In my workflow, each frame going into a mosaic is pre-processed the same way as for the Sun: a 16-bit video of the region, stacked in AutoStakkert!4 with 500 final frames, using the Laplace quality estimator and a grid of alignment points over the surface — saved as a 16-bit TIFF. Those TIFFs are what MoonMosaic takes in.
Layers and a mask are created behind the scenes, so that the terminator features can be processed in a separate layer. The final output (a TIFF file) can be opened in Affinity Photo, or any other tool supporting the TIFF format and TIFF layers, for additional processing.
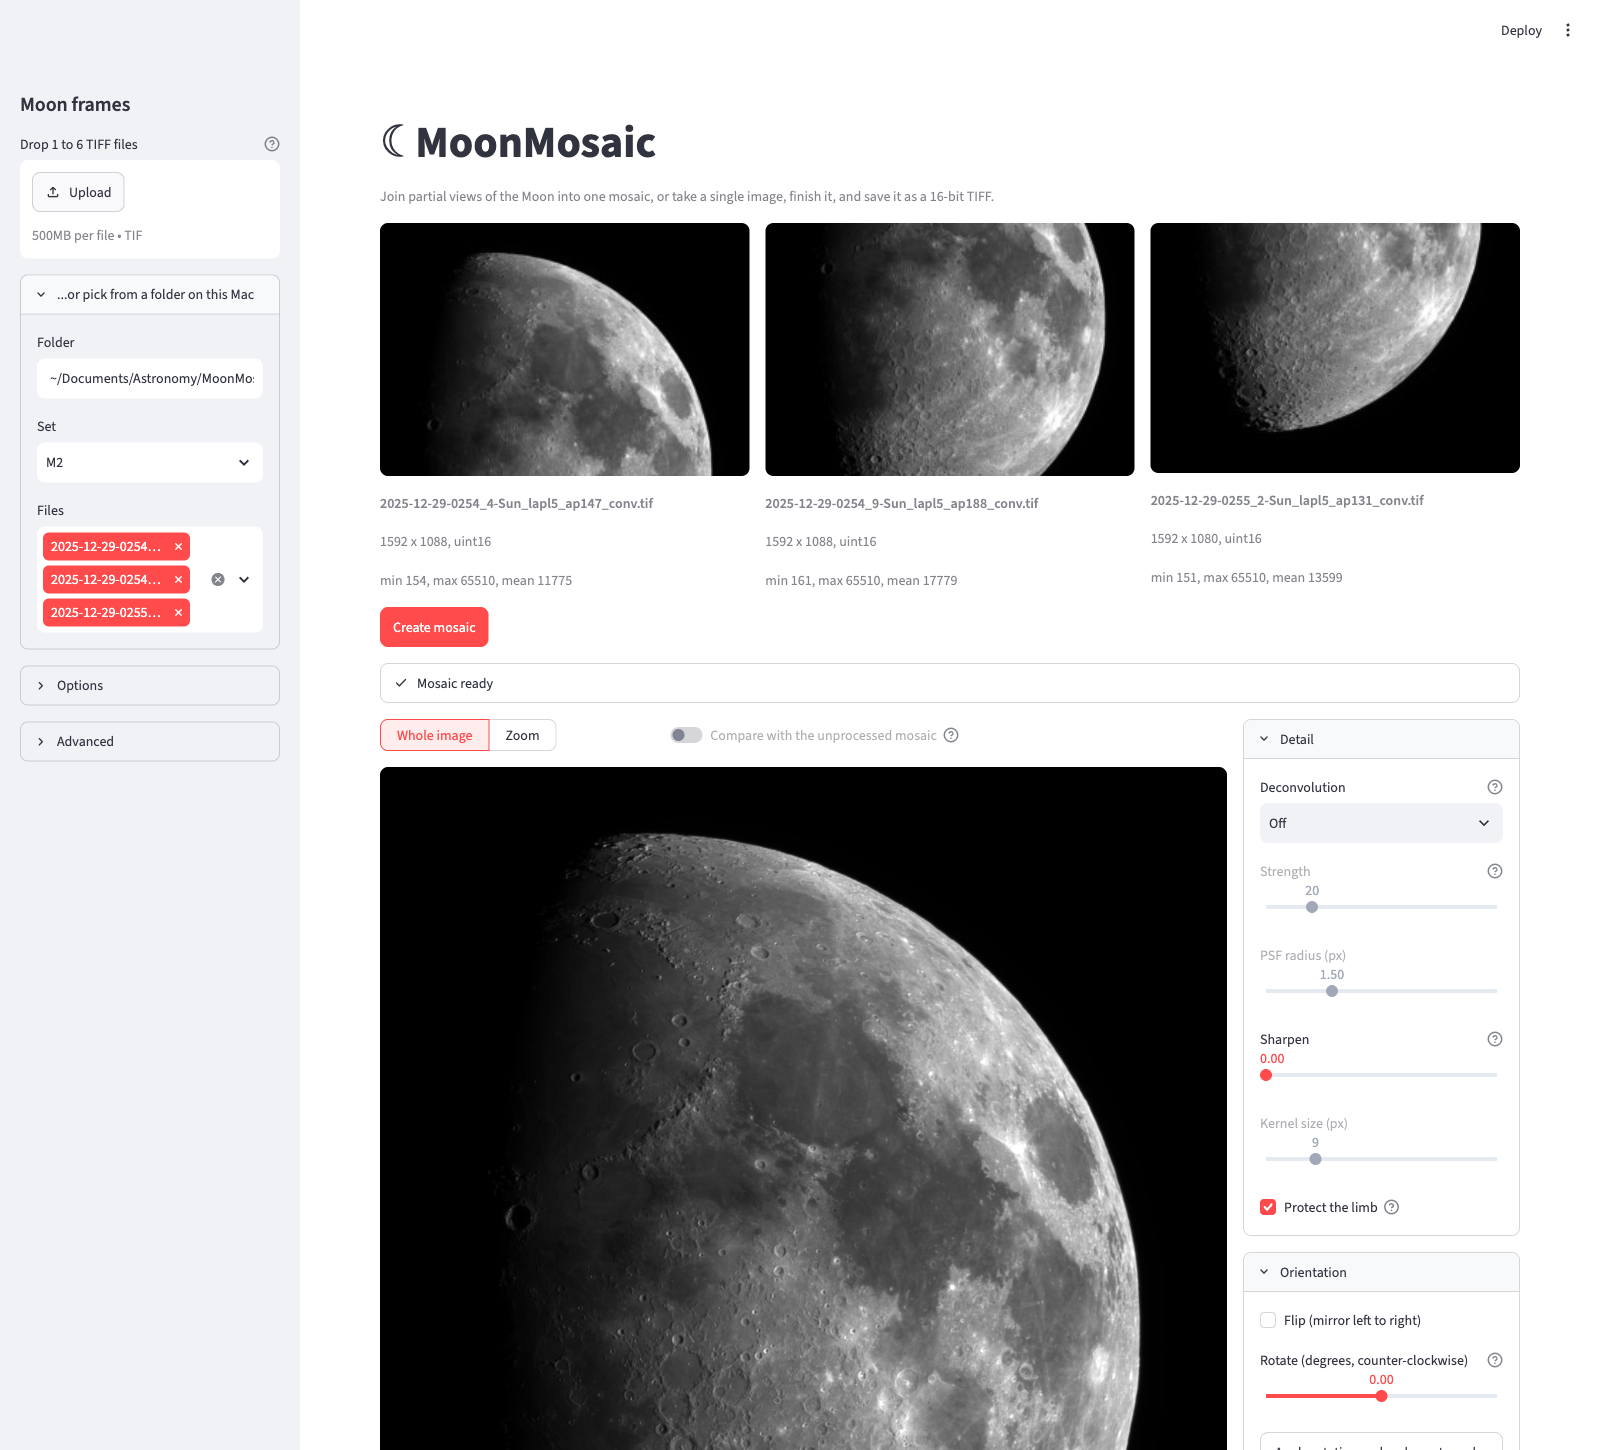
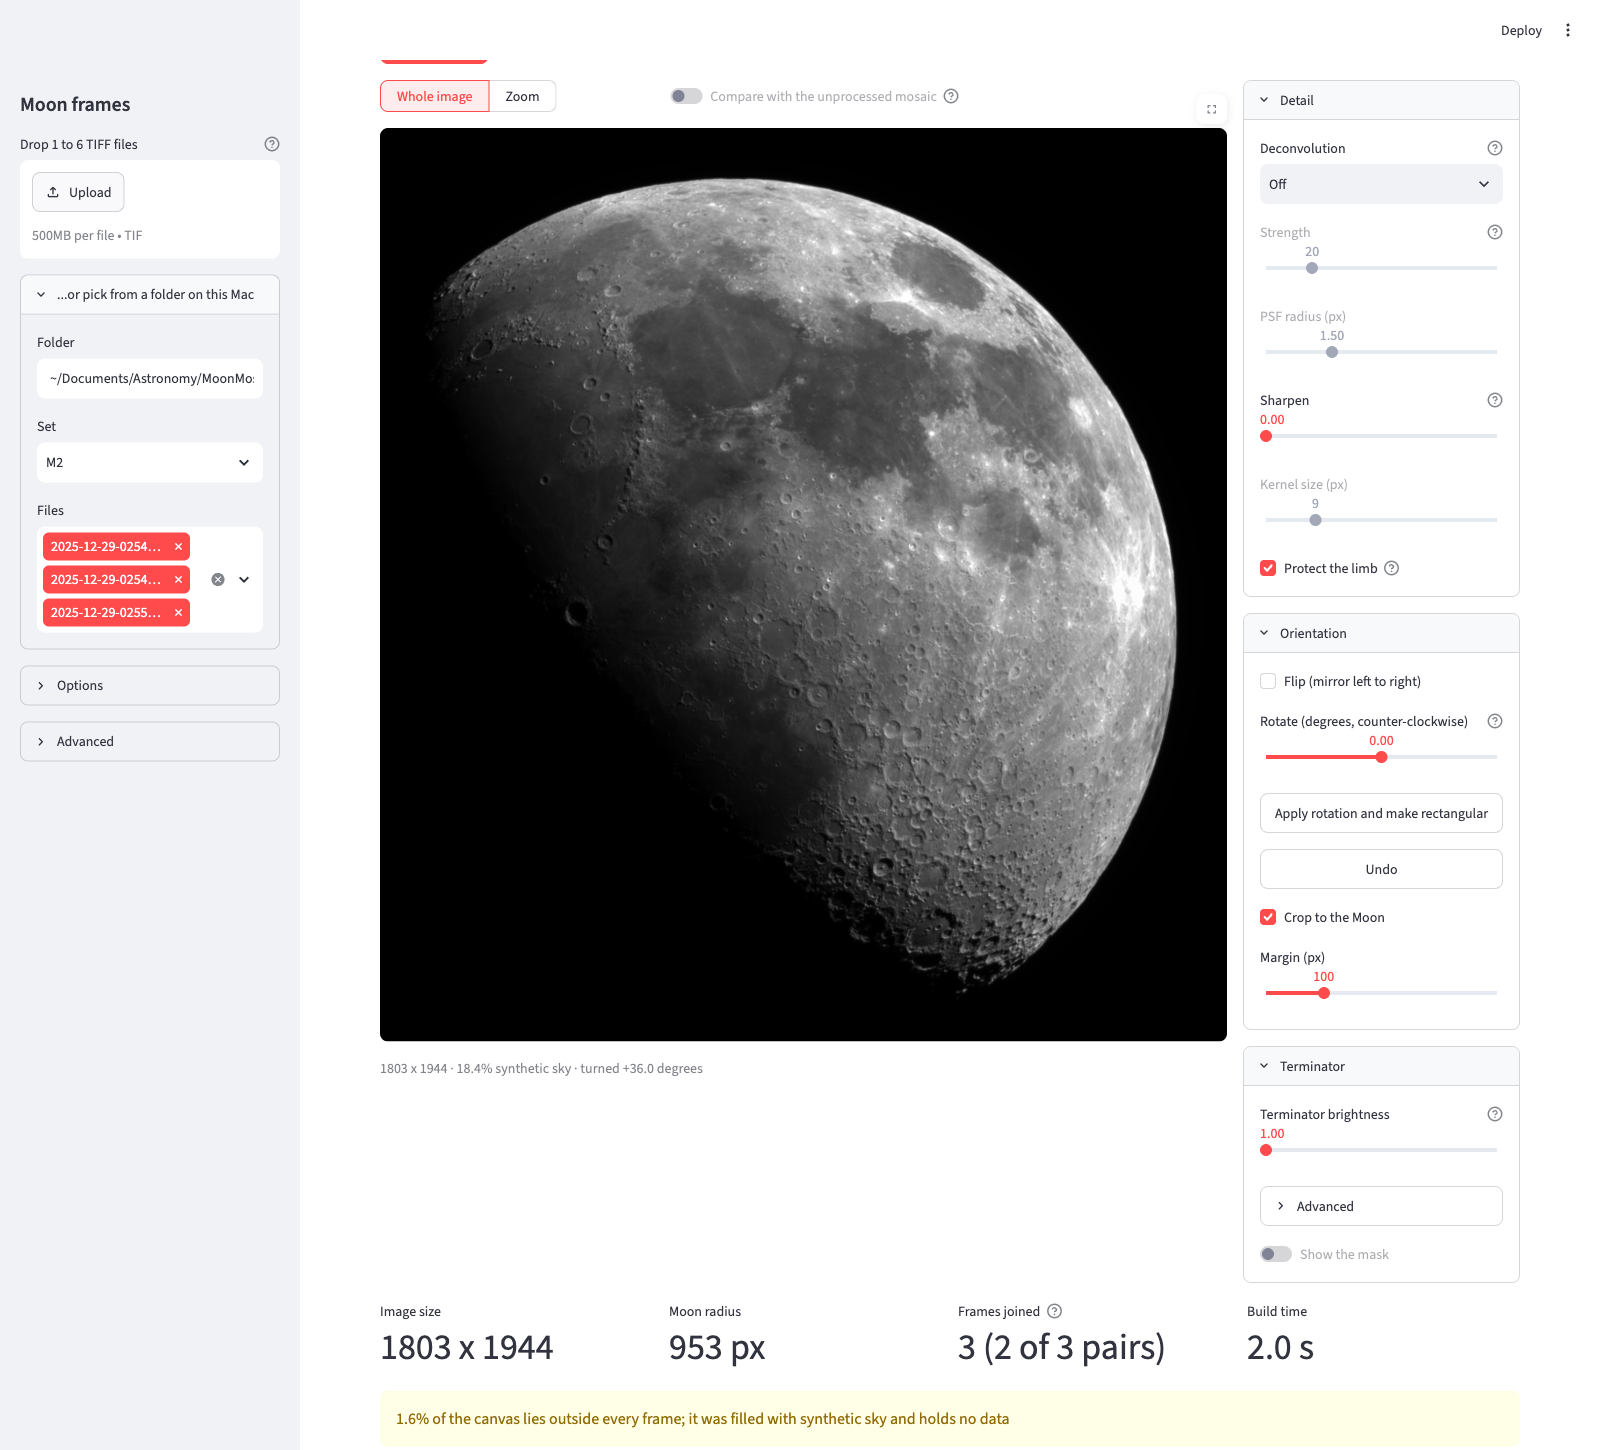
It’s open source and posted on github.com/m42cococa/MoonMosaic. A ready-to-run .dmg installer is available here — Apple Silicon Macs only. It also runs as a local browser app or from the command line.
Sun Mosaic Application with Claude Code
Posted in Astrophotography, Sun on September 13, 2026
I used to rely on Photoshop to create Sun mosaics — building the layers and masks needed for H-alpha processing, a multi-step process.
I built SunMosaic, an application for processing solar mosaics, using Claude Code — and Photoshop is no longer part of my solar imaging pipeline. Importantly, it doesn’t just assemble the panels into a mosaic: it also separates the solar disc from the surrounding prominences into their own layers and a mask, so each can be processed independently — which is what makes the rest of the workflow, below, possible.
I would like to share it “as is” as an open source project: github.com/m42cococa/SunMosaic.
A ready-to-run .dmg installer is available here — Apple Silicon Macs only. It also runs as a local browser app (Streamlit) or from the command line for anyone who wants to script it.
How the pipeline works
Each panel of a mosaic starts life as a 16-bit video captured through the rig. From there:
- Stack each panel with AutoStakkert!4 to produce a sharpened per-panel TIFF.
- Feed the stacked panels into SunMosaic, which detects the solar limb on each frame, cross-correlates the overlapping regions, solves the global alignment, corrects for the uneven brightness typical of H-alpha etalon imaging, and blends the panels into a single mosaic. Beyond the flattened image, it also generates separate layers and a mask that isolate the solar disc from the surrounding prominences, so each part of the image can be adjusted independently downstream.
- Finish the mosaic in Affinity Photo 2 (free software now), using the disc and prominence layers and mask SunMosaic exports to fine-tune each independently before flattening the final image.
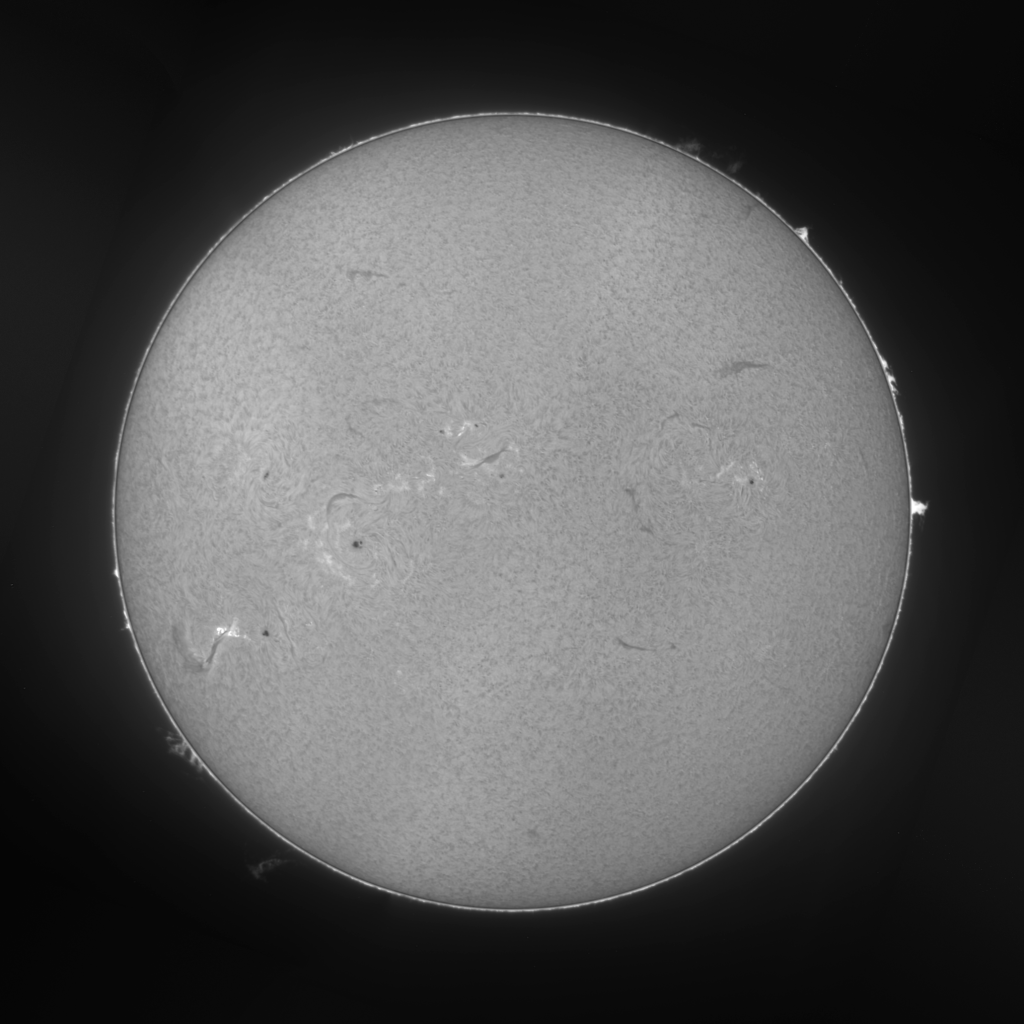
Example: September 8, 2026 mosaic
Here’s a mosaic captured on September 8, 2026 at 20:38 UTC, built from 4 panels stacked from about 500 frames each, using the same rig described in my previous post — William Optics 60mm refractor, Daystar Quark H-alpha filter, and ZWO ASI 432MM camera.

Another example: September 13, 2026 mosaic
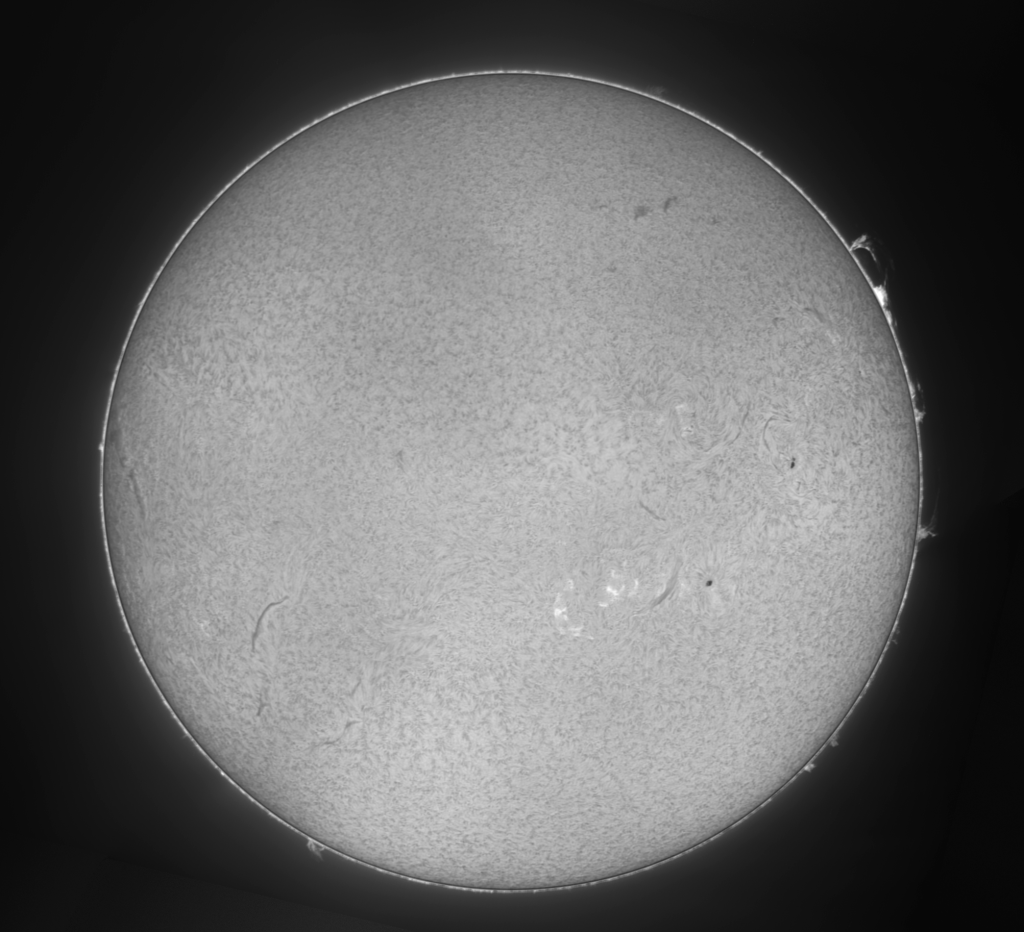
Captured on September 13, 2026 at 20:29 UTC, same rig and pipeline.
The Apennines Mountains
Posted in Astrophotography, Moon on May 25, 2026
Taken using my 150mm Rumak-Maksutov and the same ZWO ASI 432MM camera I used for the previous Sun picture.
I added a 2x Televue Barlow in the imaging train.
Taken on 2026 May 25th at 4:12 UTC.
It was processed in Photoshop from two pictures, each stacked from about 500 frames.

About the Image
This view looks across the eastern shore of Mare Imbrium. The Montes Apenninus — the lunar Apennines — form the rugged range sweeping across the lower half of the frame, marking the southeastern border of the mare. A few landmarks worth picking out:
- Archimedes — the large, smooth-floored crater near the centre, at the northwestern foot of the Apennines.
- Aristillus and Autolycus — the pair just above and to the right of Archimedes, with Aristillus showing bright ejecta and central peaks.
- Cassini — above and right of centre, recognisable by the smaller crater sitting on its flooded floor.
- Plato — the dark-floored crater at upper left, on the northern shore beside the terminator.
- Vallis Alpes (the Alpine Valley) — the straight cleft slicing through the Montes Alpes near the top.
- Aristoteles and Eudoxus — the prominent crater pair along the right edge.
Sun Observation – 2026-05-24
Posted in Astrophotography, Sun on May 25, 2026
Taken at 20:05 UTC on 24th of May 2026.
Captured in H-Alpha using my William Optics 60mm refractor with a Daystar Quark filter and a ZWO ASI 432MM camera. The final image is a mosaic of 4 panels, each stacked from about 500 frames.

Vespera Pictures – July 2025
Posted in Deep sky objects on March 27, 2026
These pictures were taken from Mount Diablo, California on the night of July 25, 2025, using a VAONIS Vespera 2 smart telescope.
The Setup on Mount Diablo
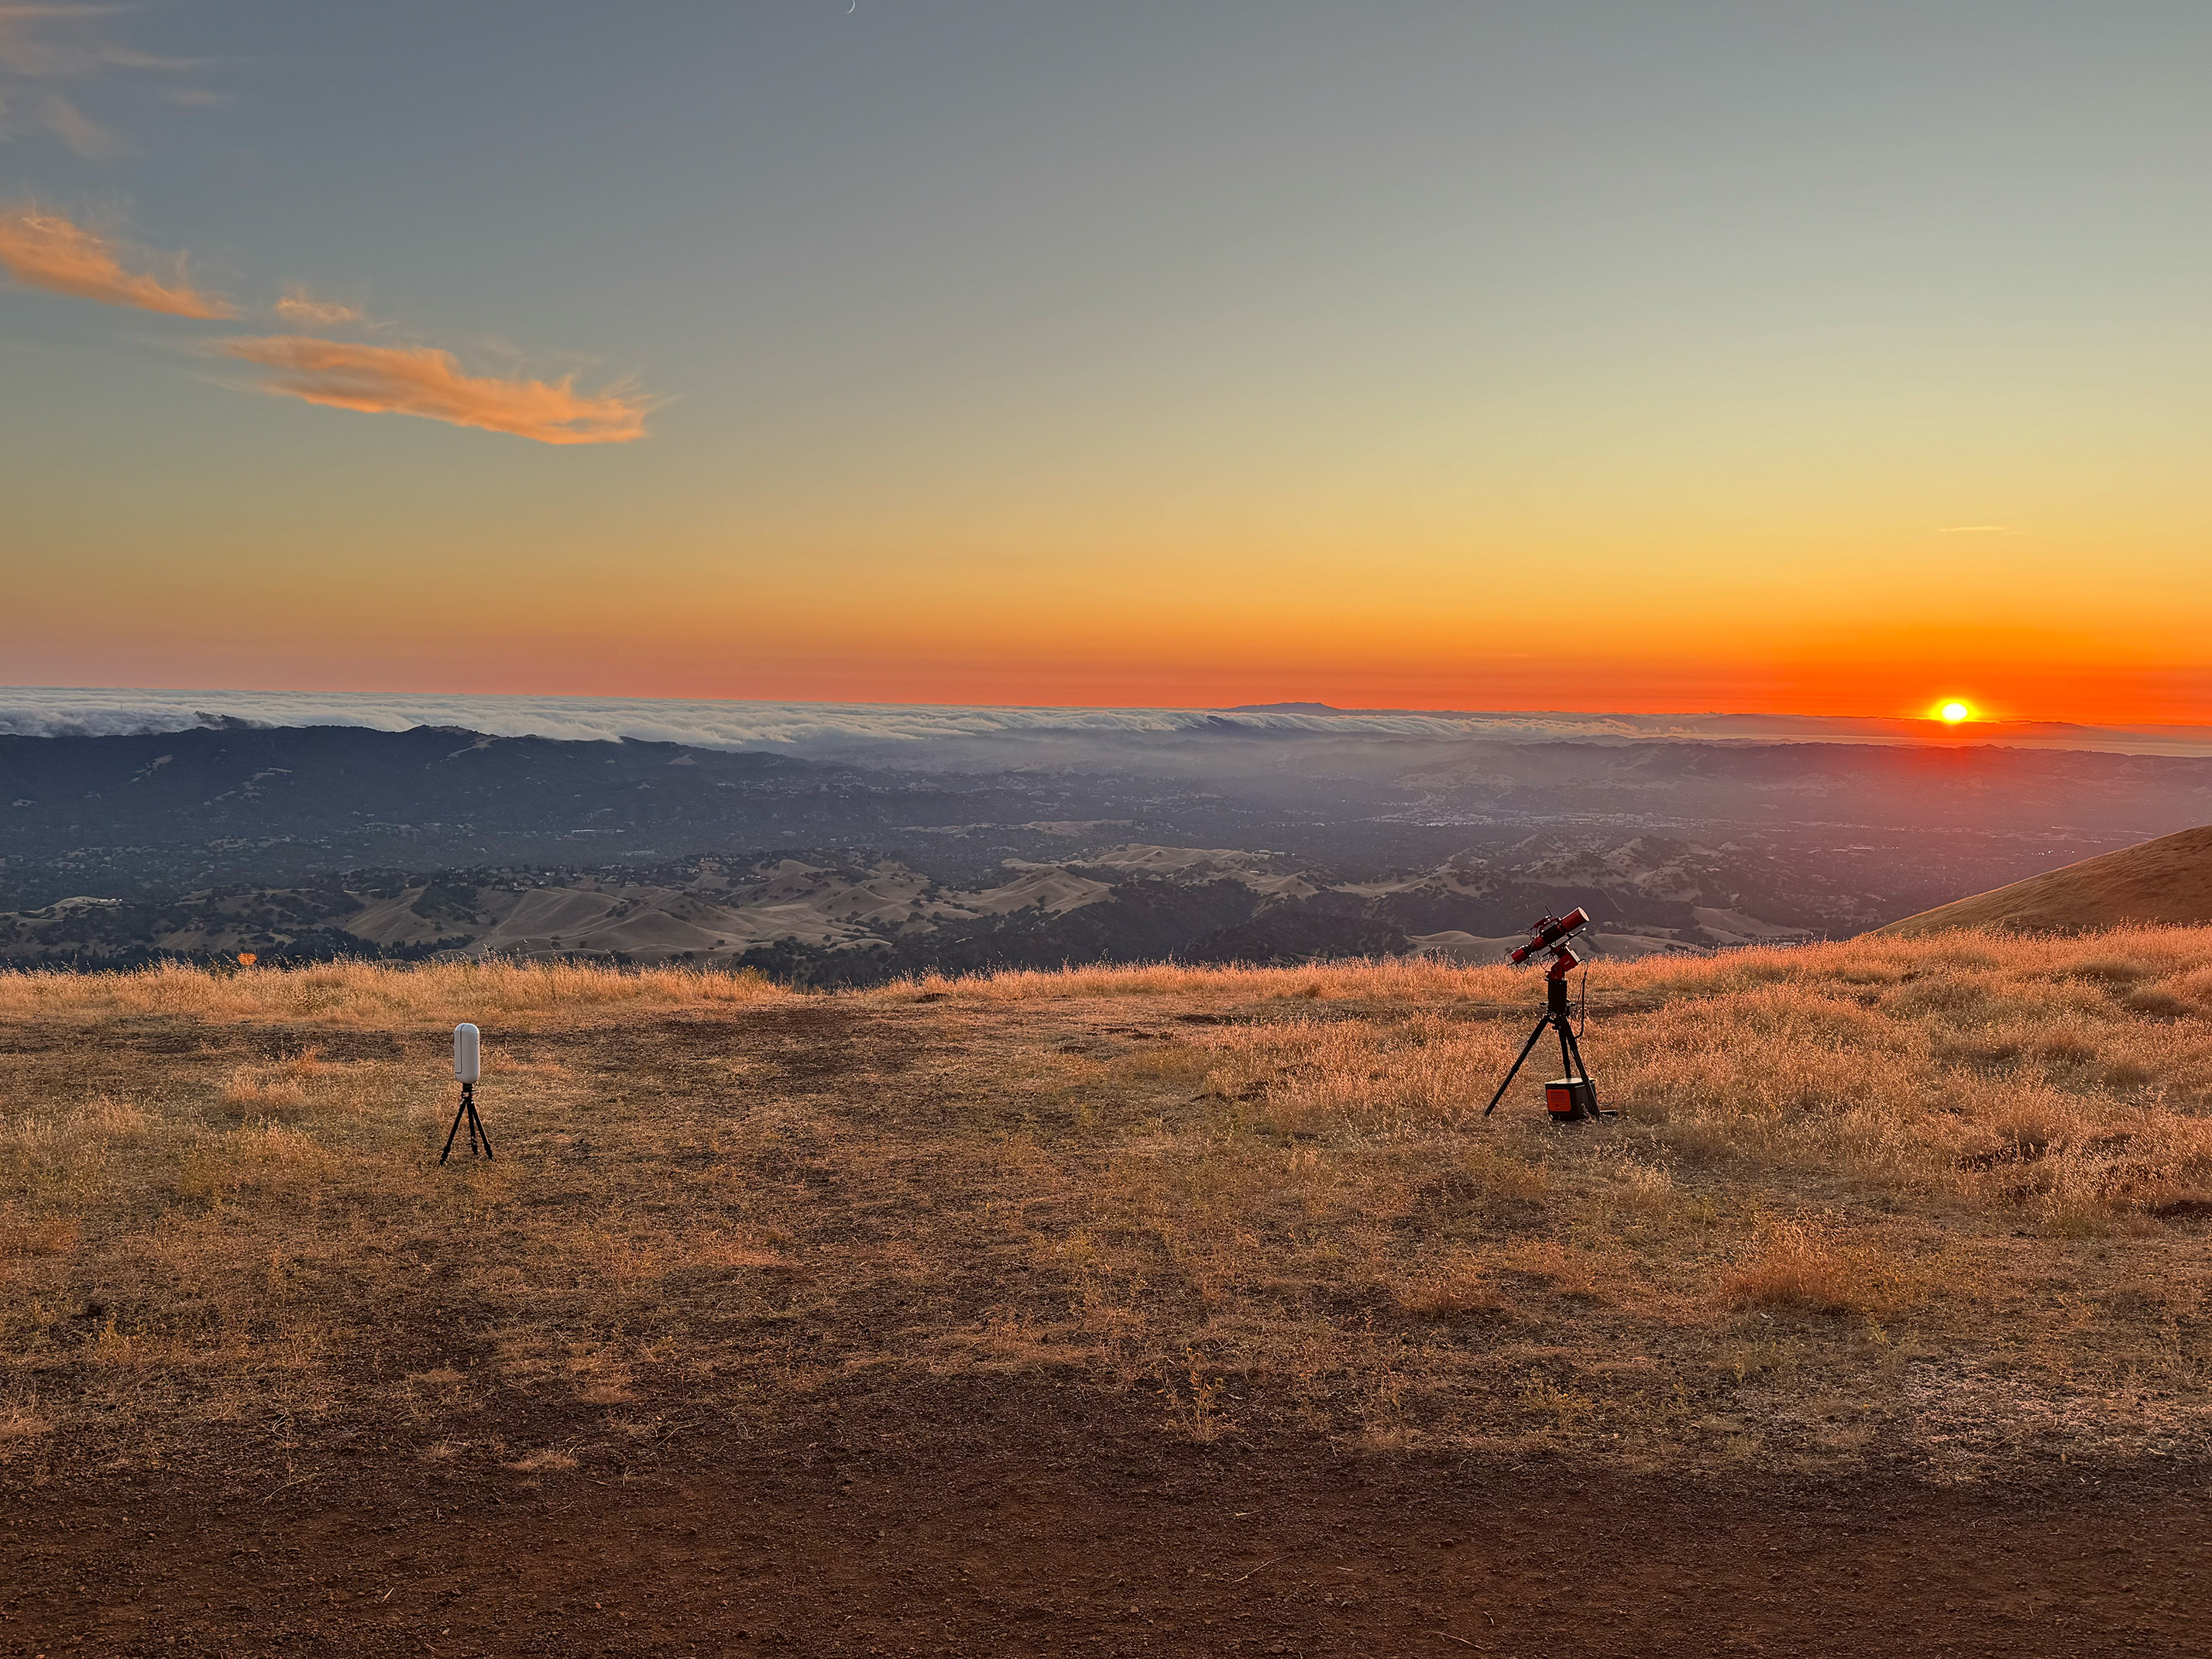
The setup for the night included two telescopes, with the Vespera 2 among them, ready to capture the summer sky from one of the Bay Area’s best vantage points.
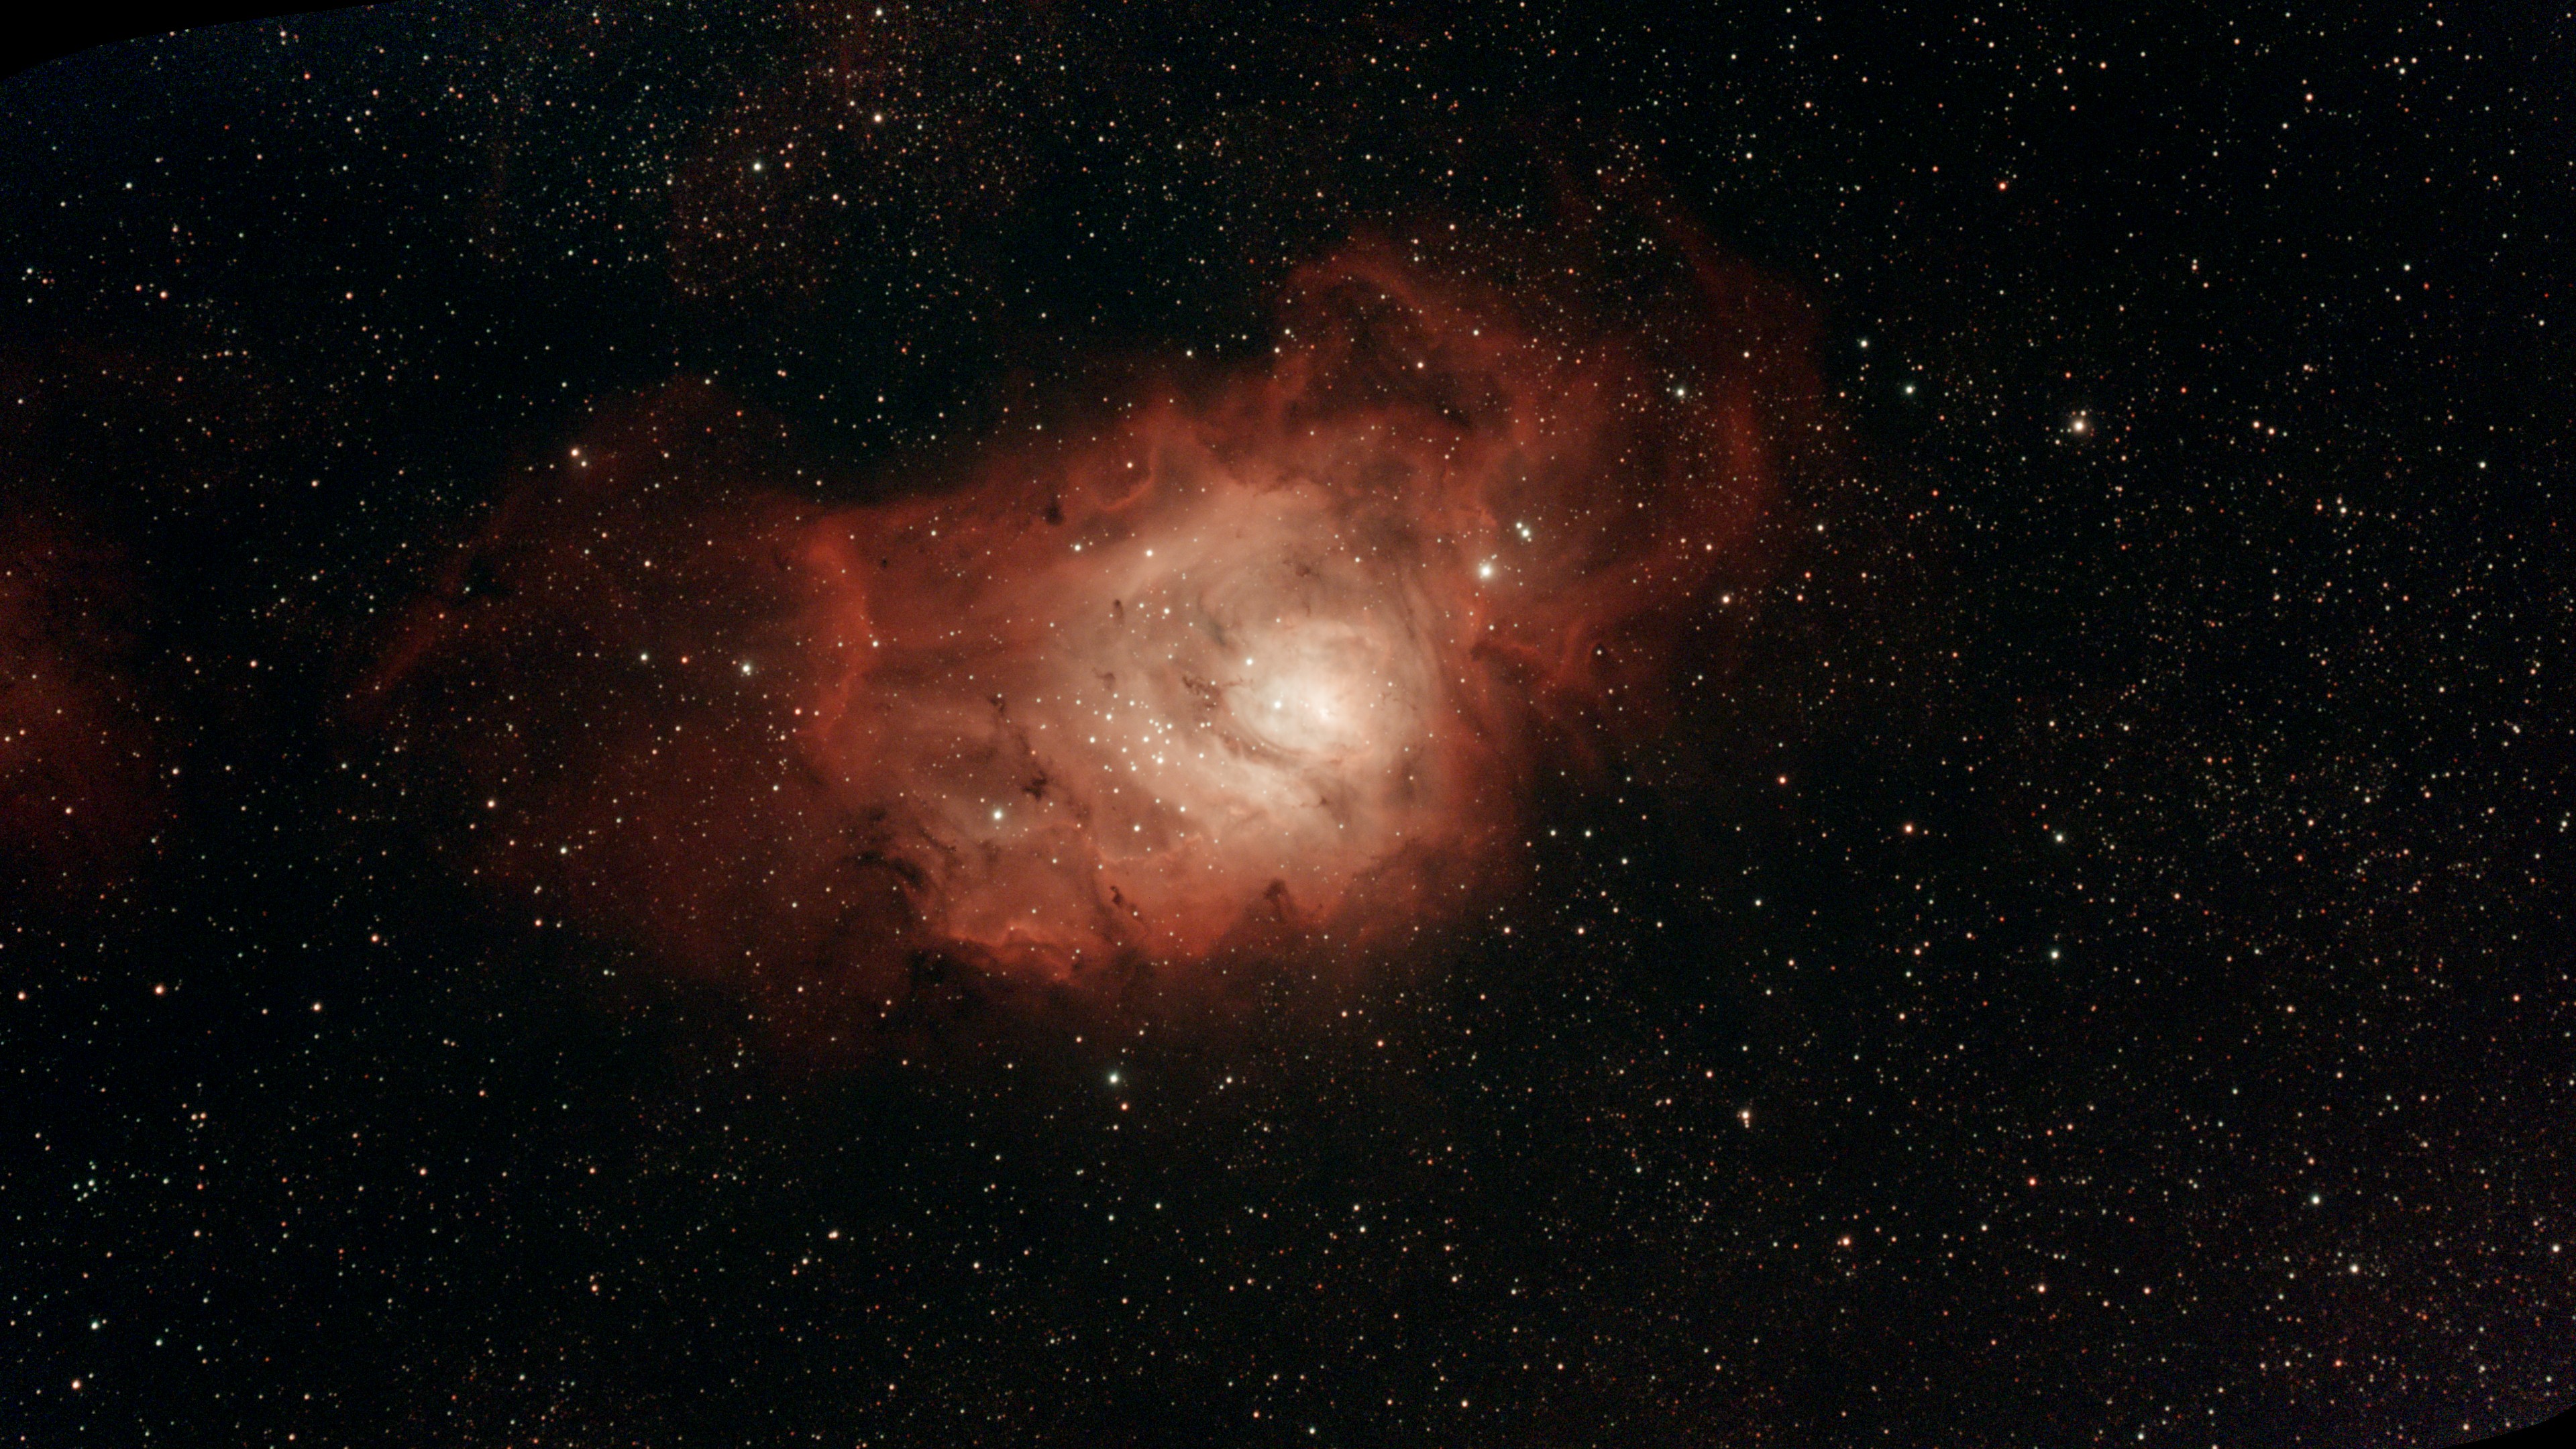
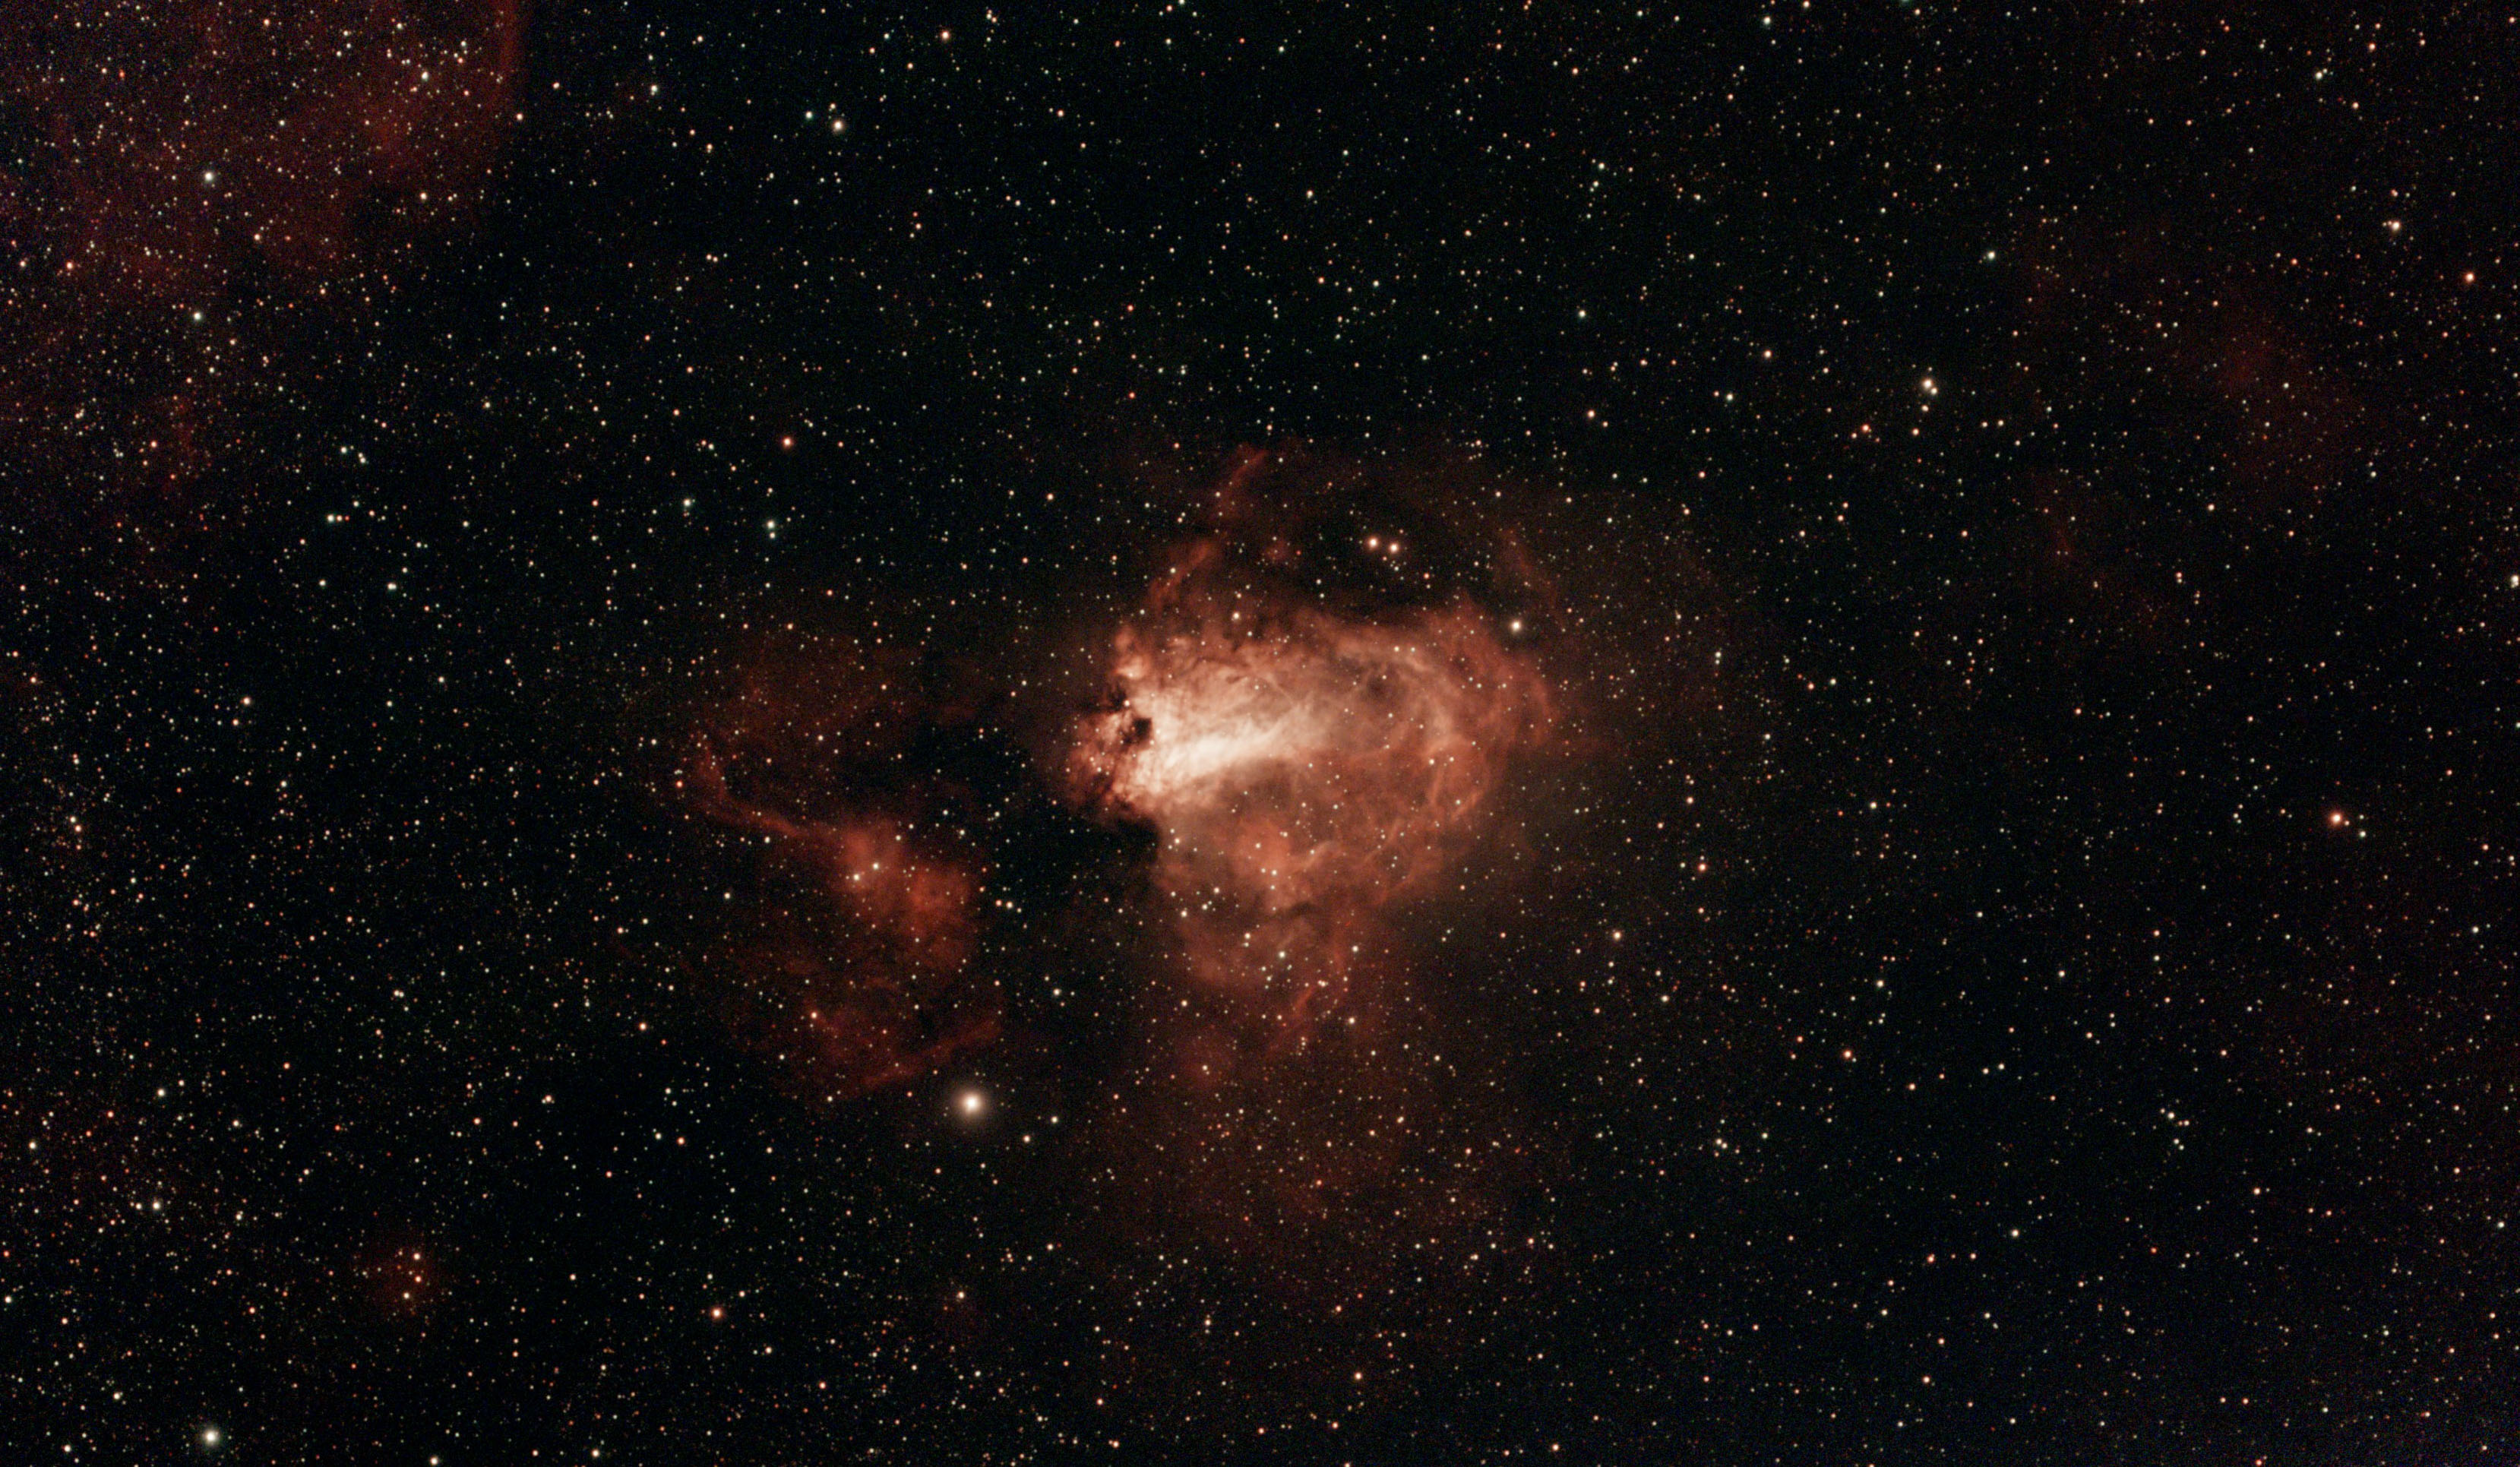
Lagoon Nebula (M8)
The Lagoon Nebula was captured by stacking 247 exposures for a total exposure time of 2,470 seconds (~41 minutes). Shot at 250mm f/5.0 with the ULD quadruplet lens.
Swan Nebula (M17)
The Swan (Omega) Nebula was captured by stacking 290 exposures for a total exposure time of 2,900 seconds (~48 minutes).
Moon First Quarter – December 2025
Posted in Moon on February 16, 2026
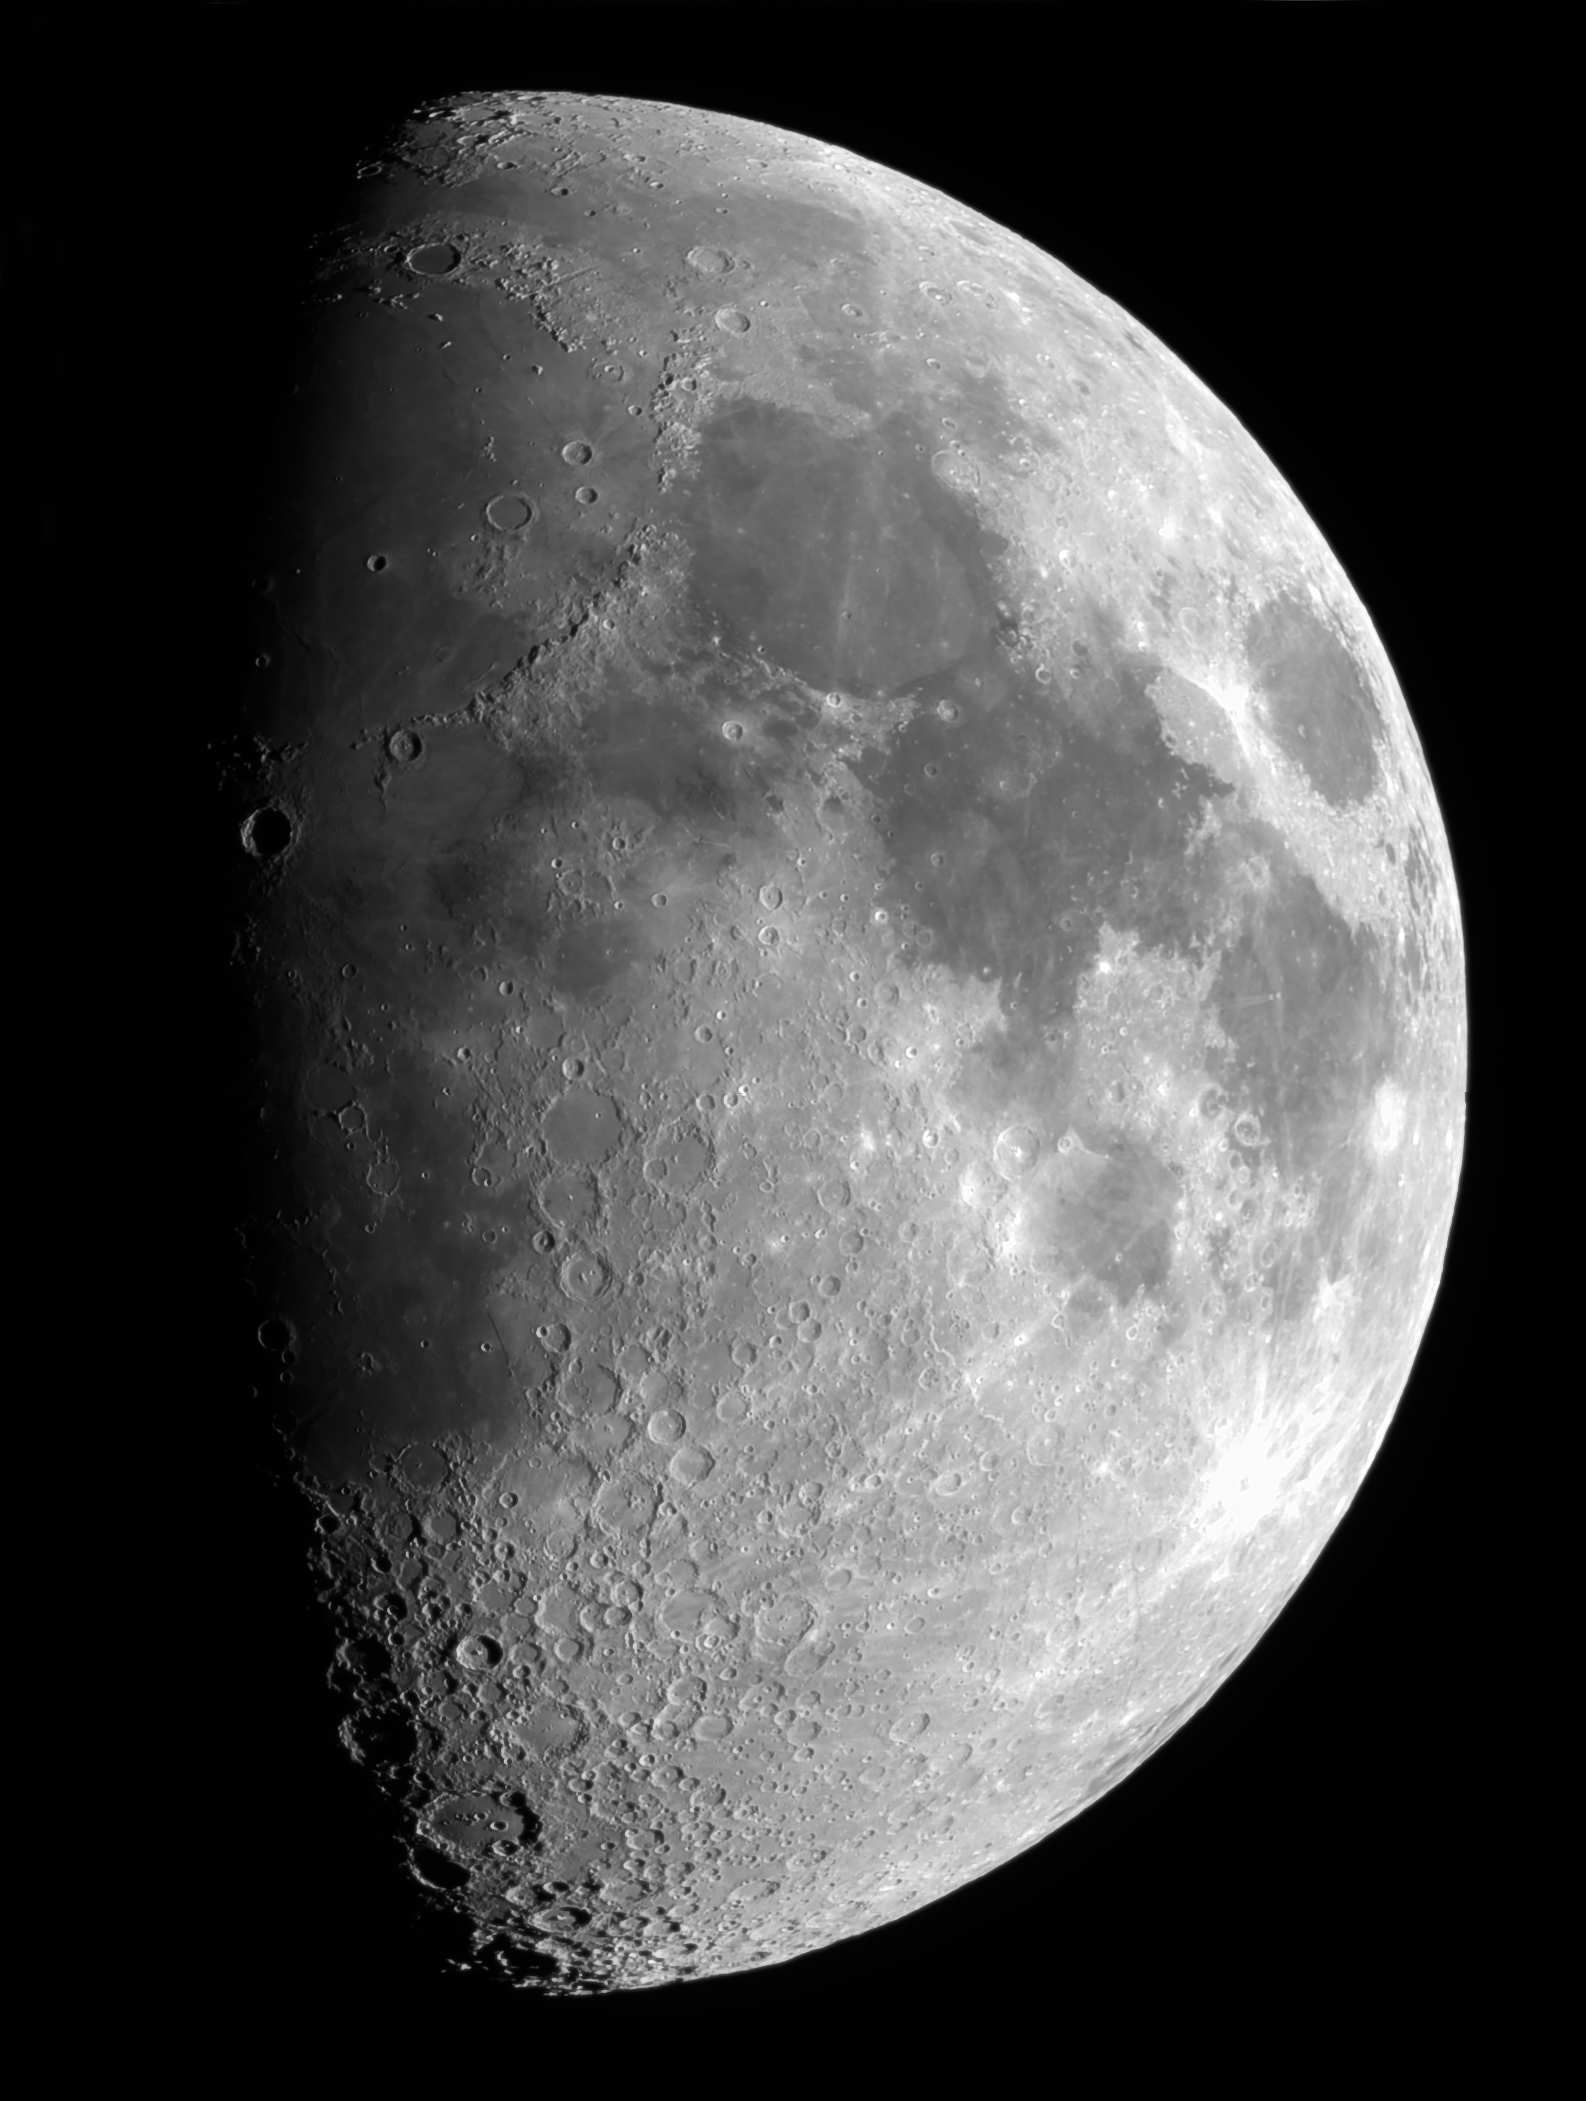
On the night of December 29, 2025, I captured the Moon at first quarter from Concord, California. Conditions were favorable for lunar imaging, and the result is this composite assembled from three separate pictures.
Equipment & Capture Details
The image was taken using an iOptron 150mm Rumak-Maksutov telescope paired with a ZWO ASI 432MM monochrome camera. Each of the three panels was captured with 500 frames, which were then stacked and sharpened using AutoStakkert. The final composite was assembled at 02h51 UTC.
North America & Pelican Nebulas
Posted in Astrophotography, Deep sky objects on October 7, 2024
ZWO Redcat 70mm with Radian quad-band filter and MC 2600 Asi Camera on 2nd of September 2024 – Concord CA
- 26 light frame 40 sec
- 8 dark frame 40 sec
- 17 Bias
- 30 Flat frame 1 sec 2 sec 3 sec
- Bin 1×1
The stacking was done using the ZWO stacking software and additional processing was done with PixInsights.