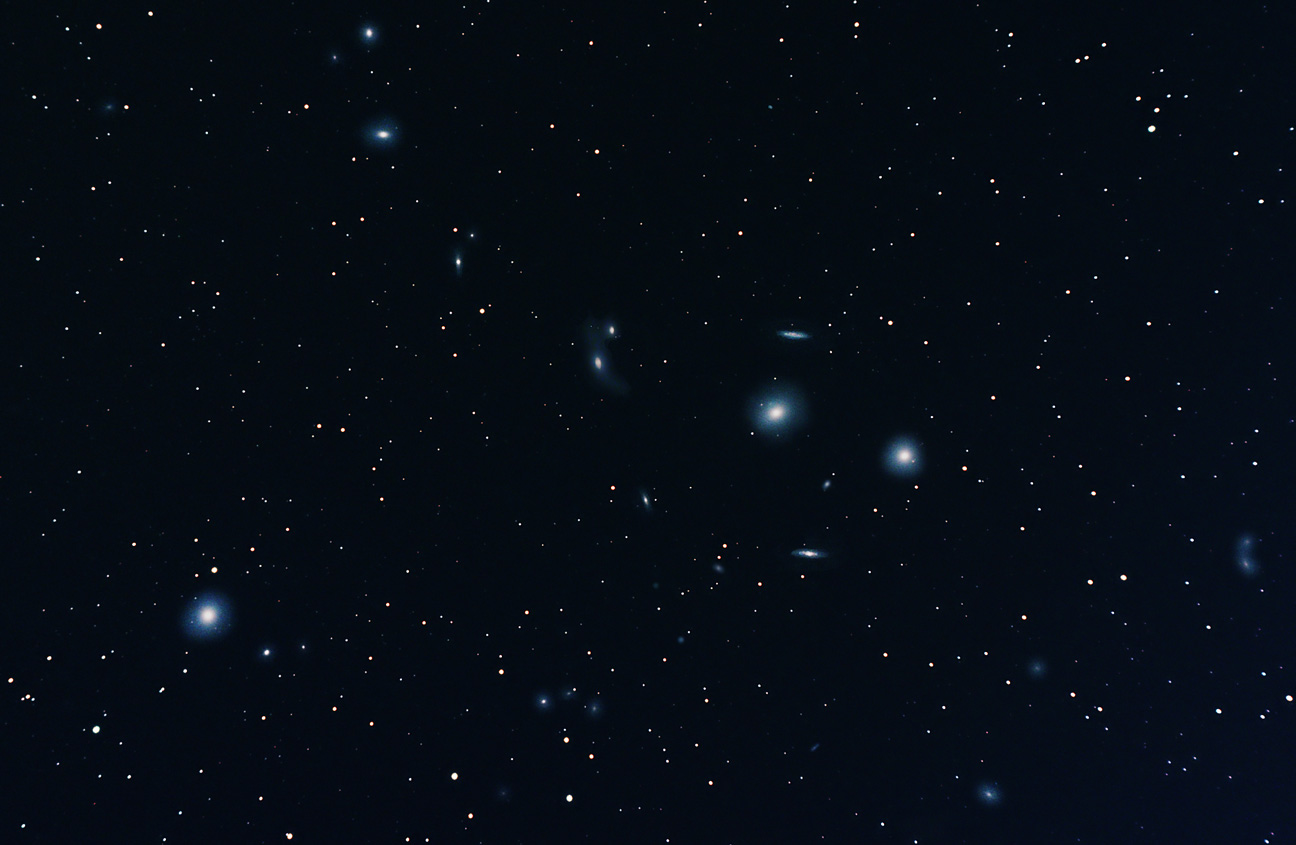
Markarian’s Chain with Takahashi FS60-C and Qhy8 Camera
Posted by jmeriaux in Astrophotography, Deep sky objects on July 21, 2010
Date: 6/11/2010
Telescope: Takahashi fs60c with Astrotech Field Flattener – Guidescope orion 102ed
San Bruno, CA
12 exposures of 420sec with Qhy8 CCD and CLS CCD – Seeing 4/10 – Transparency 3/6
Processed with Maxim DL5, Photoshop CS4 and Neat image.
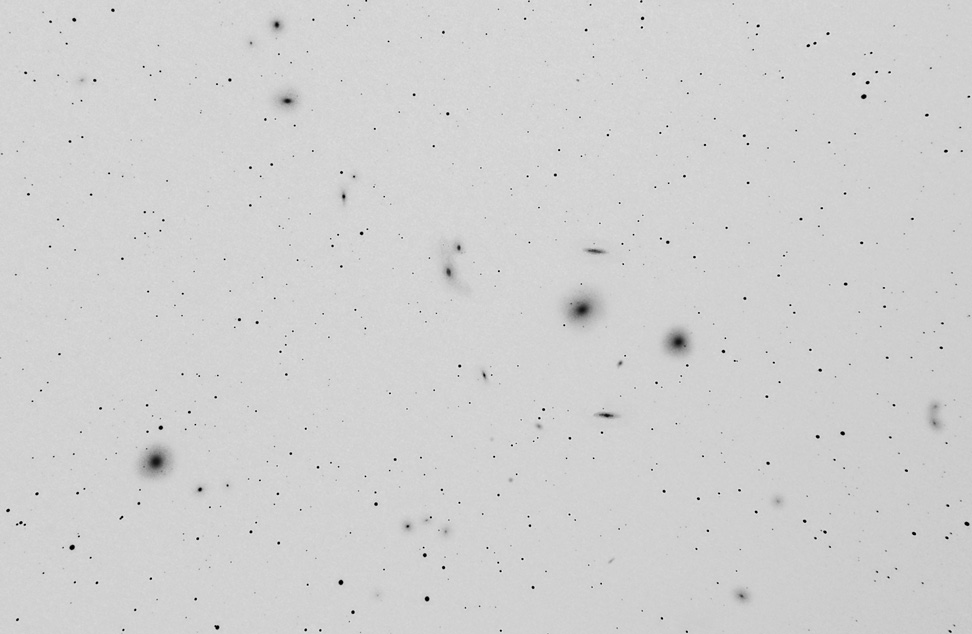
Negative
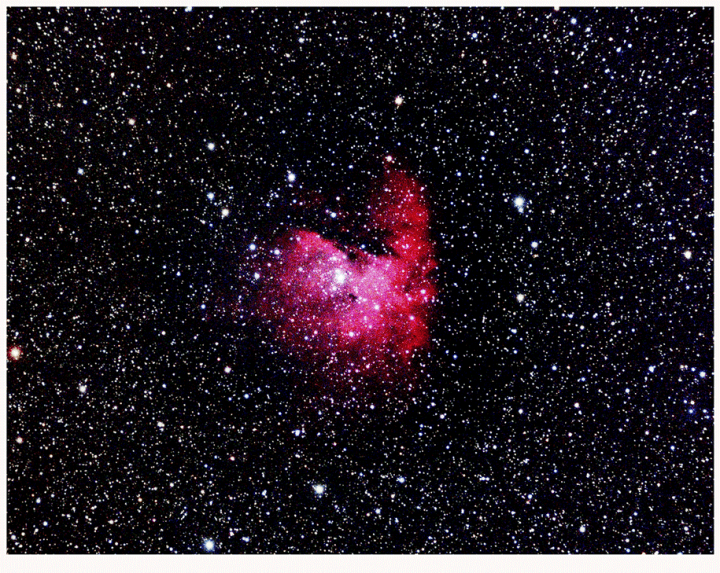
Eagle Nebula with C9.25
Posted by jmeriaux in Astrophotography, Deep sky objects on July 15, 2010
Date: 6/12/2010
Location: San Bruno, CA – near the SFO airport…
Telescope: C9.25 at F/D 6.3 with Focal reducer / corrector
Mount: Atlas Mount with Orion Short tube 80mm and Star Shoot autoguider
Camera: QHY8 – with Astronomic CLS CCD Filter.

17 exposures of 420 seconds bin 2×2 (False color) – processed with MaximDL5. Dark, Flat field, and biais images were used.
Post processing with Photoshop CS4, Noise Ninja, and Focus Magic.
I used layers and careful processing to make sure details in the center of the Nebula are not over-saturated / lost. It is one of the first picture I processed with Noise Ninja, and I like all the controls it provides compared to NeatImage (another noise reduction program).
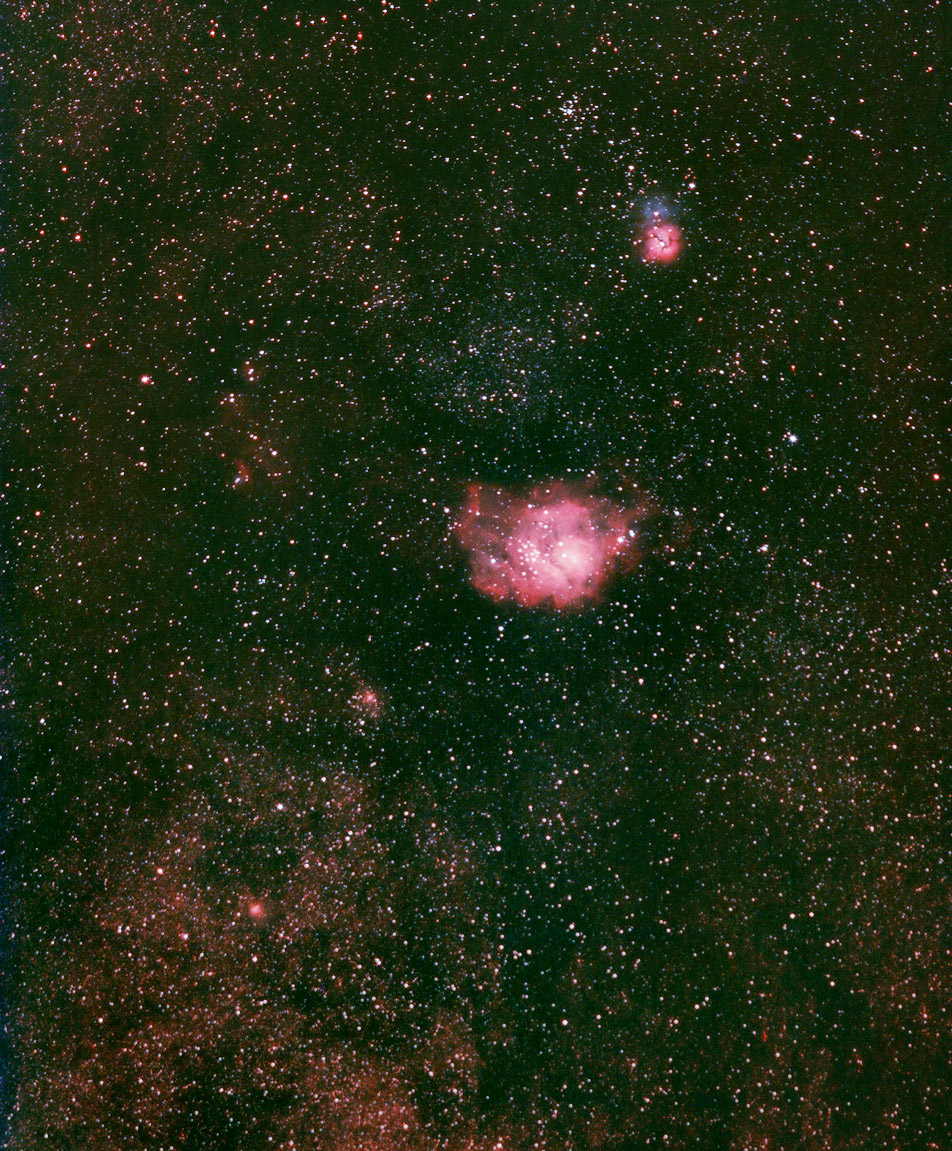
Trifid and Lagoon Nebulae in city light
Posted by jmeriaux in Astrophotography, Deep sky objects, Wide Field and Telephoto on July 11, 2010
This is my first try at Wide field imaging (comparing to the focal length I usually use) in San Bruno – on 7/4/2010! Transparency was 3/6 (magnitude 3 stars seen at best) and M8 was quite low (below 30 deg.) so imaging was a challenge! But what can be done in a highly light polluted environment with a fast optical system, the CLS CCD anti pollution filter, and digital processing still surprises me…
Mount: Astrotrack travel system
Camera: Canon XTi with Canon 200mm prime lens f/d 2.8 teleobjective open at f/d 3.5 – at Iso 400
30 exposure of 90 seconds with Astronomik CLS CCD clip filter
I am still experimenting with the Astrotrack – and can improve tracking accuracy. Also unfortunately the 200mm Lens is somewhat out of collimation (in the process of returning it). But given the conditions I am happy with the result. Hoping to use these gears on a trip in New Mexico in September…
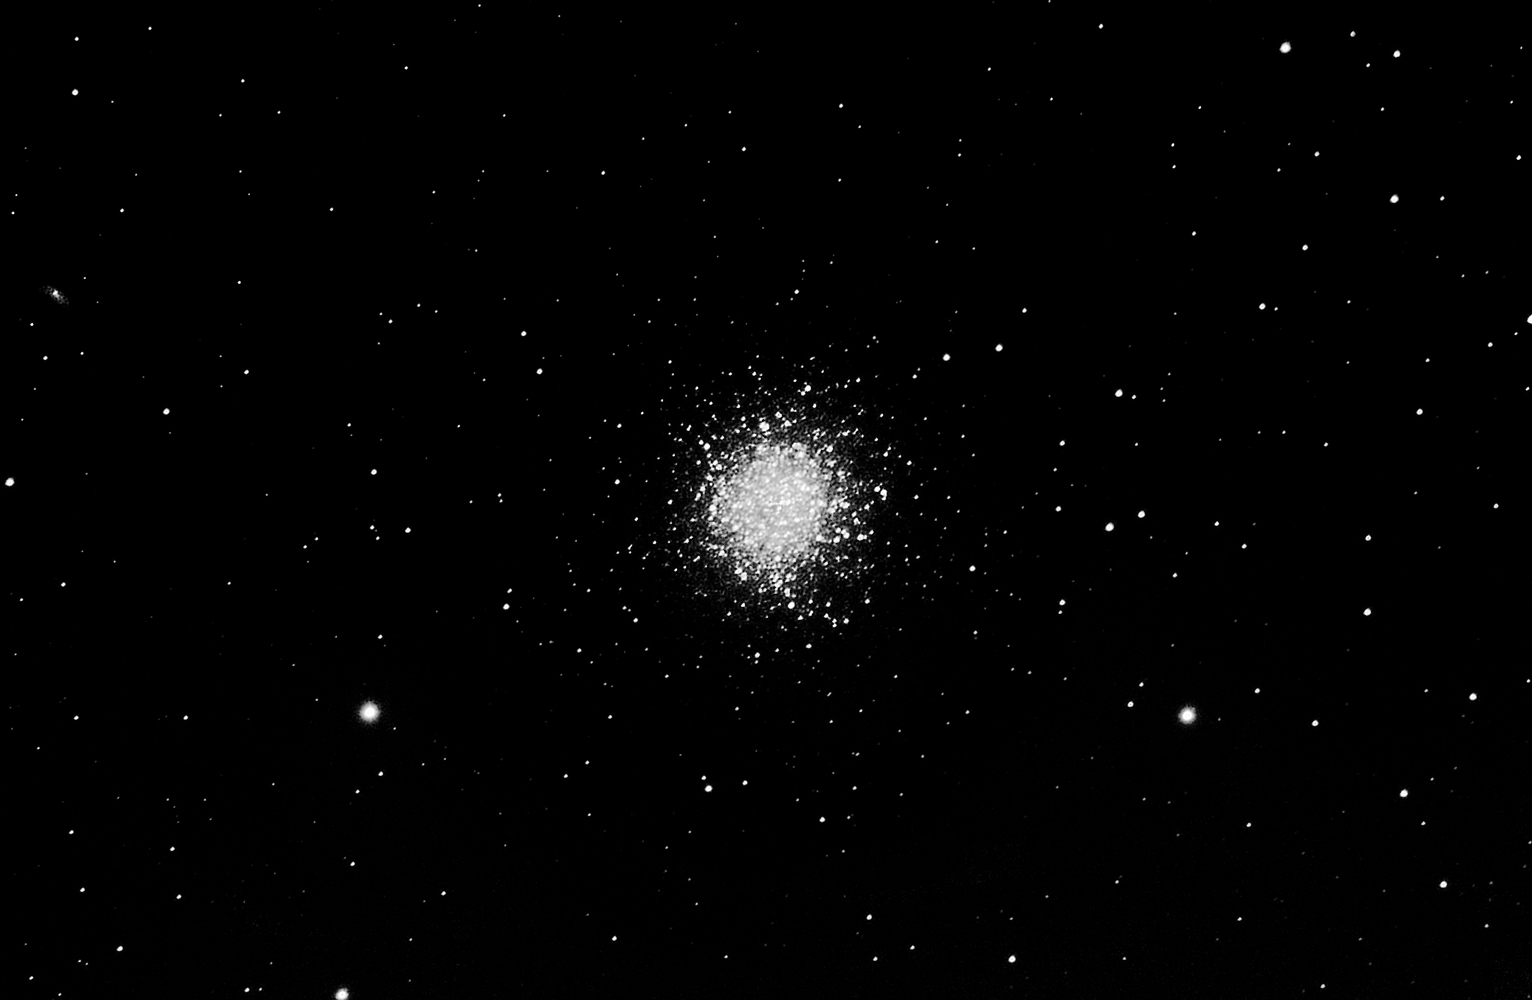
M13 with 190mm Orion Maksutov-Newton
Posted by jmeriaux in Astrophotography, Deep sky objects on June 3, 2010
This shot was taken with the 190 Mak Newton at focal plane, with a QHY9 black and white Camera cooled down at -40C.
This is a composite of 10 exposures taken at 15sec, 30sec, 60sec and 6 exposures at 120 sec – when the Full moon was rising.
Note: collimation was not perfect there, and the seeing suboptimal.
Date: 5/30/2010 – Location: San Bruno CA – Seeing 2-3/10 (Alpo), Transparency 2/6, Wind 5-10mph.
Filter: CLS CCD Astronomik.
Mount: Orion Atlas – with Star shoot autoguider and Takahashi FS 60C guidescope.
Processing: Maxim DL5, Photoshop CS4.
First pictures with Orion 8″ Newtonian Astrograph
Posted by jmeriaux in Astrophotography, Deep sky objects on May 9, 2010
I recently acquired the 8″ orion Newtonian astrograph for a couple of reasons:
- Fast focal ratio telescope to reduce exposure time
- Great capabilities given the price – it compares well with a SCT of same aperture but provide a faster optic
- Large field of view compared to instruments of similar diameter
- Lightweight and easy to set up (compared to larger focal length Newtonian)
I use the Astrograph with a Coma corrector (Baader MPCC – Multi purpose coma corrector) – this is a must be accessory for a Newtonian with such a high speed focal ratio. The telescope needs to be thoroughly collimated – but when you get used to it this takes a couple of minutes (first cut with laser collimator and fine tuning on a star).
Look also at the Trifid nebula shot I recently took with the 8″ Newtonian and qhy8 …
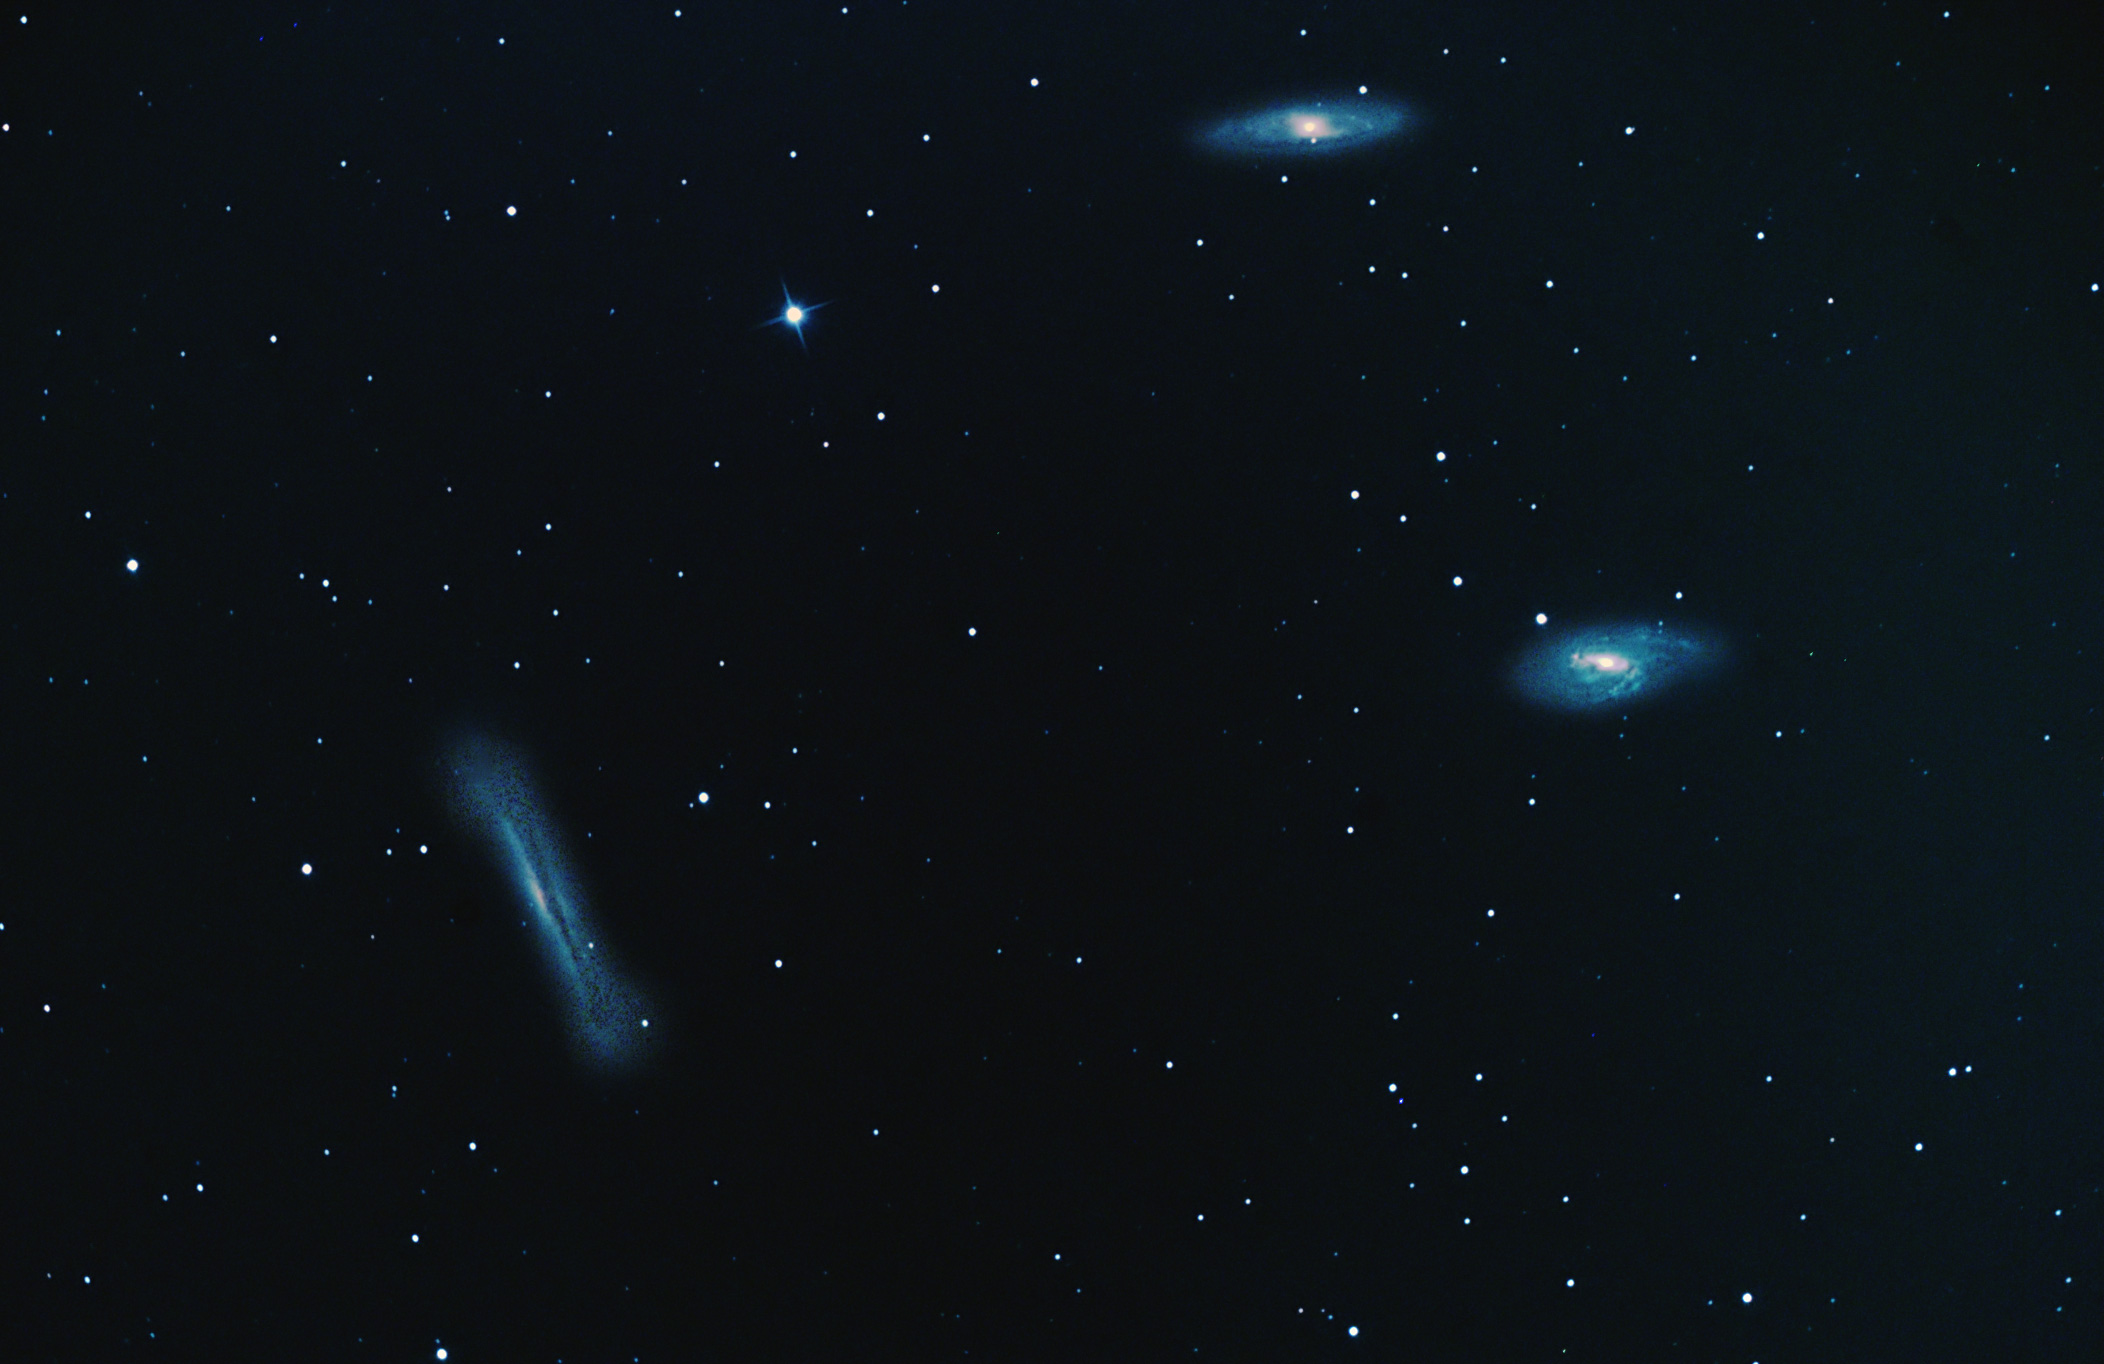
Leo’s triplet – 3/19/2010 – 9 exp of 360sec with Qhy8 CCD
This instrument is not meant to be a visual telescope (at least for Planetary observing). I can notice some spherical aberration on mine – but it is not a big deal for deep sky photography at focal plane (at least for the average conditions I have on my observation sites).
This telescope excels in Nebula and Galaxy clusters. For planetary nebulas , or details in small galaxies, a larger focal (e.g. the one you have with a C9.25″ at f6.3) performs better.
I used a couple of time CCD inspector from CCDWare with it to optimize the collimation. This is a fantastic product allowing you to collimate the telescope in real time while the CCD camera is attached to it. You do a rough collimation first – and then fine-tune the collimation with CCD inspector in real time. It can be used with any telescope, but this program is particularly useful with fast telescope where collimation has to be done within high tolerances.
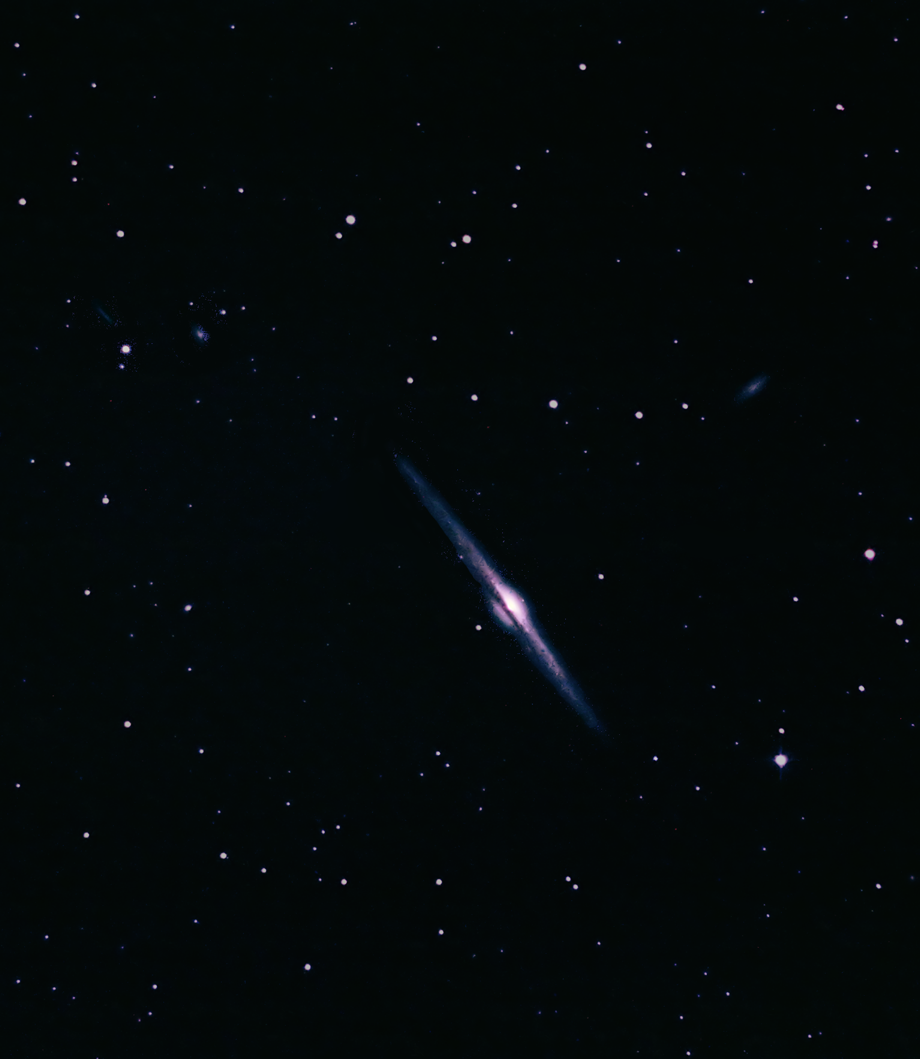
Ngc 4565 – Needle galaxy – 3/6/2010 – 19exp of 165 sec – Canon XTi
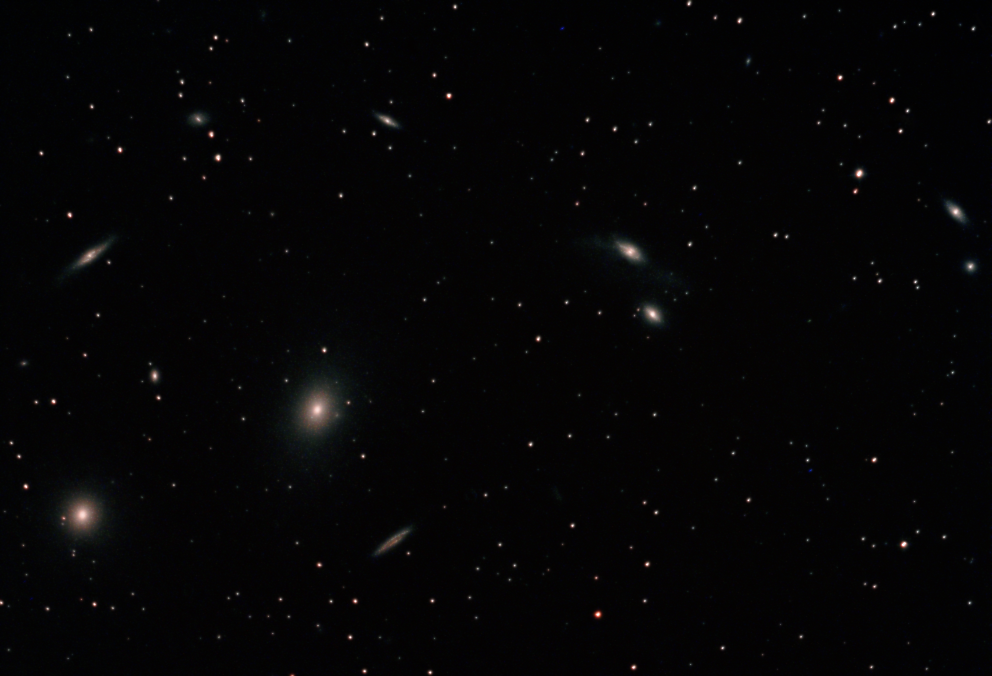
M86 – Part of Virgo Galaxy cluster – 5/6/2010 – 18exp of 360 sec with Qhy8 CCD
(collimation was far from perfect there … stars become donuts on the egde..)
M1 – Crab Nebula – 9exp of 240sec with Qhy8 camera
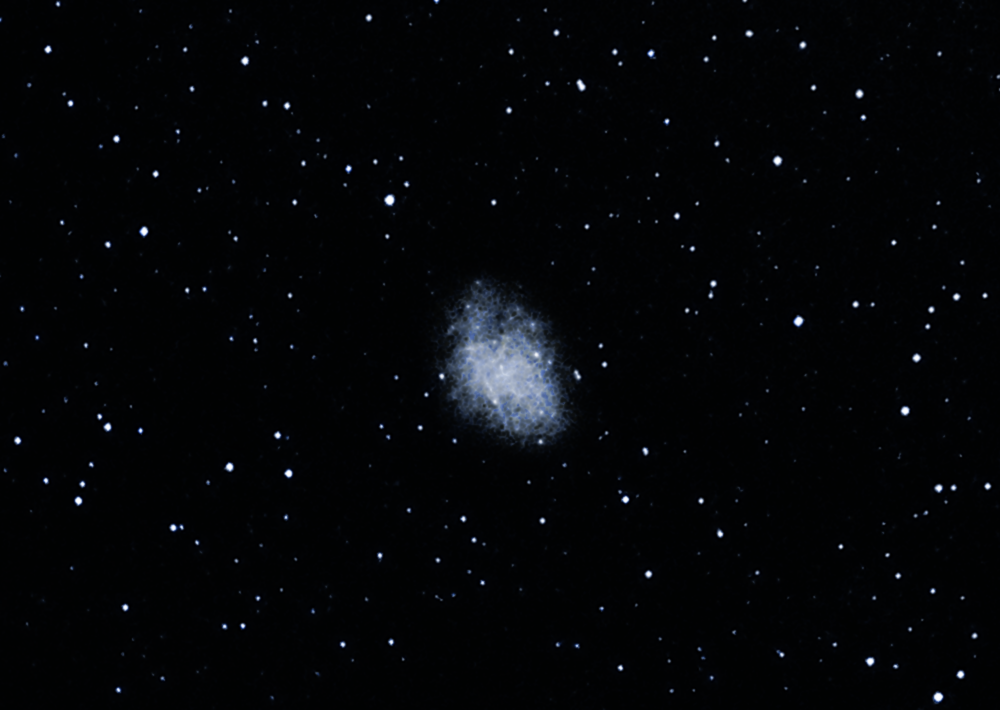
I compared pictures of the same objects taken with my Orion 102ED refractor, and not only the images are much brighter, but they capture many more fine details with the 8″ astrograph.
The Full Width Half Maximum (FWHM) of stars is significantly better with the 8″ astrograph as well (even though not taken with the same Camera – Canon XTi with the 102ED, and Qhy8 with a larger pixel size for the 8″ astrograph).
The comparison stops there – the Orion 102ED refractor is a very versatile instrument, that is very easy to use (no collimation, no significant cool down time for the optics), and the 8″ Astrograph is not so much for beginners and is dedicated to deep sky astrophotography. So far I am very satisfied with the 8″ astrograph – it is a telescope fun to use – and of great quality / price ratio.
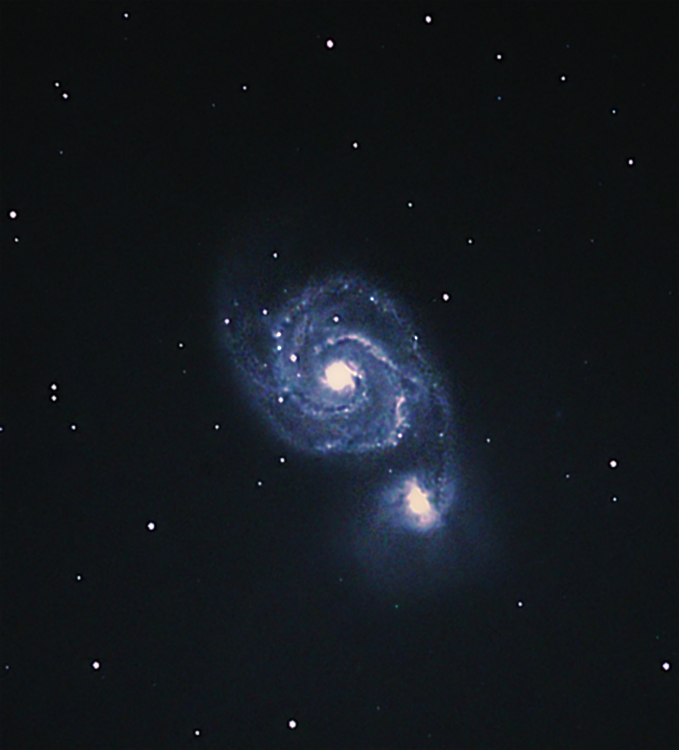
M51 in light polluted sky with Astronomik CLS CCD Filter
Posted by jmeriaux in Astrophotography, Deep sky objects on May 3, 2010
This picture of M51 was shot in San Bruno, CA, near the airport.
Telescope: Celestron 9.25″ SCT with Celestron f.d 6.3 corrector / reducer
Camera: QHY8 CCD cooled down at approximatively -40C
Filter: Astronomik CCD CLD
Composite of 6 images of 360sec and 17 images of 240sec.
Software: Photoshop CS4 and NeatImage. I applied high pass filters to enhance contrast in the Galaxy spirals and use Astroart deconvolution to enhance details.
My new camera QHY8 is really amazing – small in size, very easy to use, with a large CCD sensor, and so few noise that I don’t need to shoot each time dark frame. In fact the noise is so low I barely notice the difference when calibrating with Dark frames.
I am always in the quest of improving my deep sky imaging and battling with light pollution. Many nights, the best magnitude I can visually see is between 3 and 4… The skyglow of the city, San Franciso airport, and close caltrain station surround me… I tried different ways to improve contrast by using different light pollution filters and narrow band filters..
I am impressed with the performance of the Astronomik CLS CCD filter. It really reduces the light pollution, filtering the city lights, but let critical wavelengths such as OIII passing through. I was able to compare with other filters such as the Orion Skyglow photographic filter, and even through the Orion filter allowed me to take nice pictures (see the Pacman nebula with an Orion 102ED, Orion Skyglow filter, and Star Shoot Pro II), the Astronomik filter blocks light pollution to a greater extent and allowed me to do exposures of +6 minutes even with short focal ratio (f/d 4), and this without saturating the image.
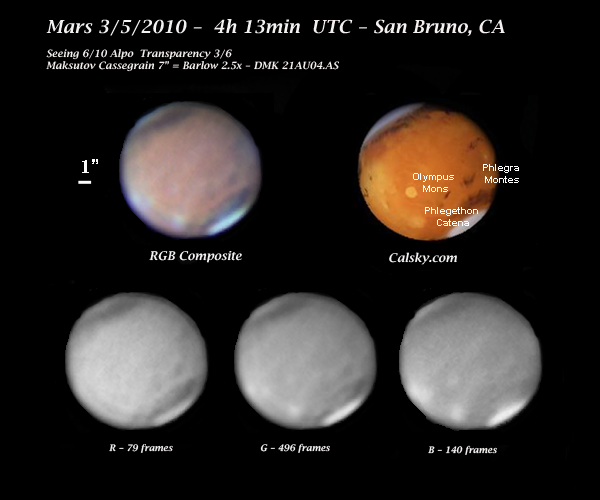
Mars in early March 2010
This is probably my best photography of Mars even though it does not exhibit the side of mars with the most features. The seeing was great for my location (Alpo seeing 6/10). Mars was quite high in the sky. The conditions were as good as for the shot I took in November. Orographic clouds over Olympus Mons can be seen, and as well as albedo features such as Phlegra Montes, Phlegethon Catena and Amazonis Planitia. Picture taken at roughly f/d 40 using a 2.5x Siebert optics barlow with DMK B&K Camera – about 1,500 rgb frames – each frane between 1/10 and 1/15 sec of exposure.
For those who are wondering why it is possible to capture (when the seeing is great…) details that are at or sometime far below Dawe’s limit – look at the excellent article from Damien Peach on this topic, explaining why Dawe’s limit is not really applicable to extended objects (planetary disk) with high contrast features.