Pier and Atlas Mount
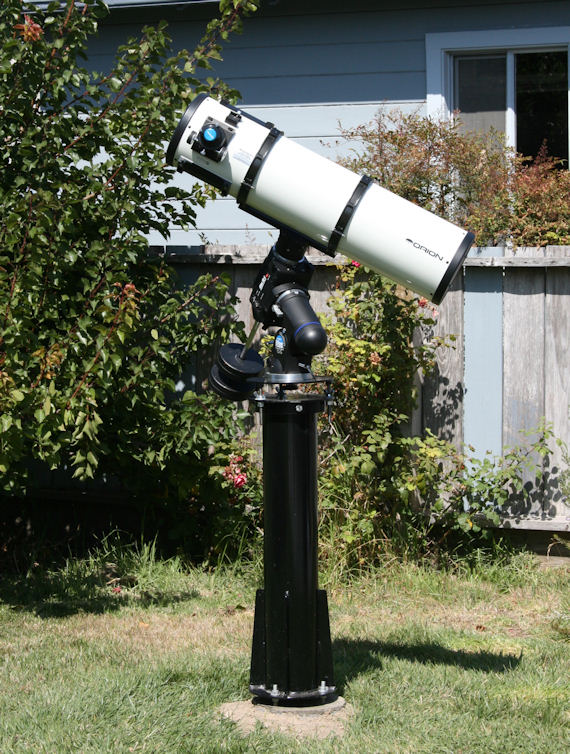
I installed (august 2009) a brand new Pier that I can use with my two mounts (new Orion Atlas and Orion Sirius).
The new Atlas Mount (bought in July 2009) is a must with heavier equipment I have now: Maksutov-Newton or Celestron 9.25″ SCT equipped with guide scope and camera. The overall assembly is far more stable than the mount and tripod and should lead to much better quality tracking and photography.
The pier was bought at Skyshed. I would recommend this company – it went pretty well and it was fairly easy to contact them to check from time to time how things were progressing.
I ordered two adapters / plate – one for each mount. A 45″ x 14″ hole was dug and filled with concrete and four 1/2″ J-Bolts are used to support the Pier.
The ordering took about 2-3 weeks. Below picture of the assembled pier with the Atlas mount plate adapter and Maksutov-Newton 190mm. I am very happy with the result!
Jupiter Opposition – 9th of August 2009
Posted by jmeriaux in Astrophotography, Planets on September 6, 2009
Some more pictures with the Imaging source camera – San Bruno, CA.
Seeing was not great 3-4/10 ALPO scale.
Telescope: Orion Maksutov Cassegrain 7″ with Atlas Mount
CCD Camera Imaging Source DKF 21AU04.AS with RGB color wheel
Picture at Focal Plane F/D 15. All pictures are processed with Registax, Maxim DSLR, and Paintshop Pro
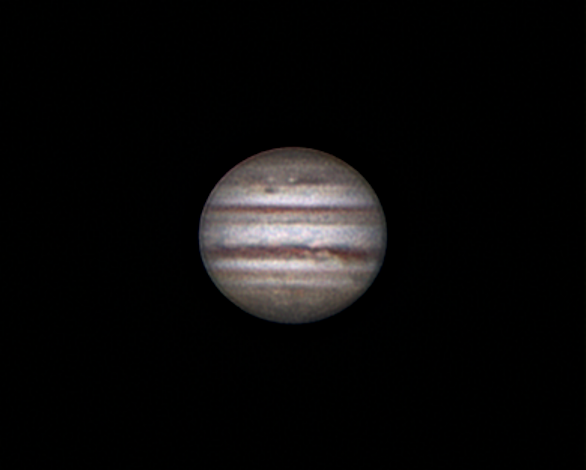
Jupiter on 8/9/2009 at 11.43pm PDT – Seeing 3-4 / 10 on ALPO scale- Stack of 539 R / 349 G / 763 B frames
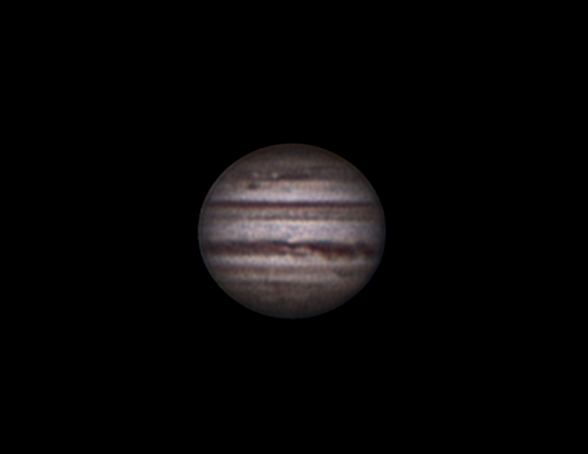
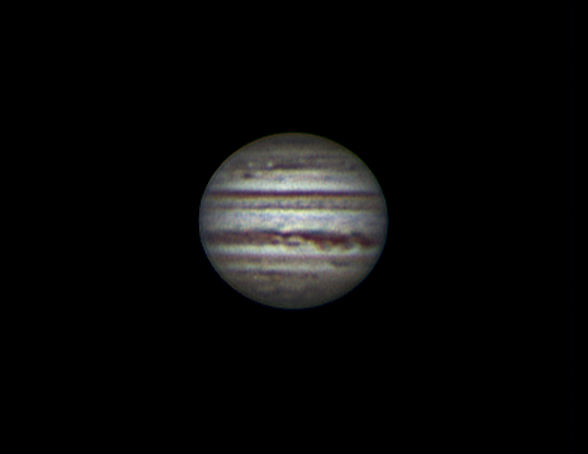

Jupiter with new DKF 21AU04.AS CCD Camera
Posted by jmeriaux in Astrophotography, Planets on August 11, 2009
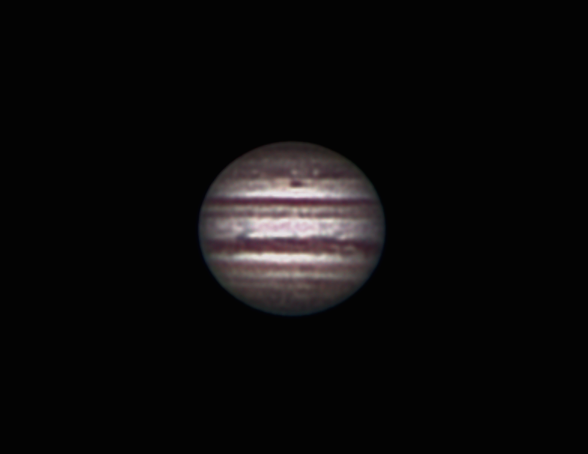
I tried my new CCD camera from Imaging source – DKF 21AU04.AS with a RGB color wheel. It gave great results compared to the Orion solar system Imager III. I used an Orion astrophotograhy flip mirror. The field view is very narrow – and a flip mirror and an eyepiece is very useful to search and keep the planetary objects in focus. Also the CCD wheel is mandatory to move quickly from one filtered view to another – given the fast rotation of Jupiter… The three digital movies have to be done within 3 to 4 minutes max to avoid any loss of details due to the planet rotation.
The seeing was very average – 3-4 / 10 on ALPO scale.
Telescope: Orion Maksutov Cassegrain 7″ with Atlas Mount Picture was taken at focal plane (f/15).
Jupiter on 8/9/2009 at 3.22am PDT
Stack of 965 frames processed with Registax, Maxim DSLR, and Paintshop Pro
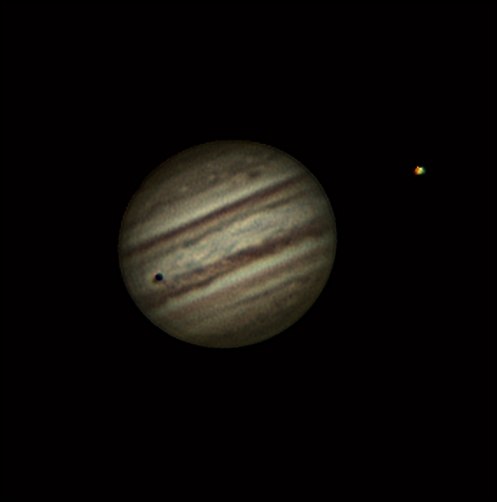
New Jupiter pictures – July 2009
Posted by jmeriaux in Astrophotography, Planets on July 18, 2009
Jupiter picture taken with my Maksutov-Cassegrain. Camera: Orion Solar System Imager III. No filter.
Pictures are at focal plane – f/15.
7/18/2009 – 45 frames – 4.12am PDT
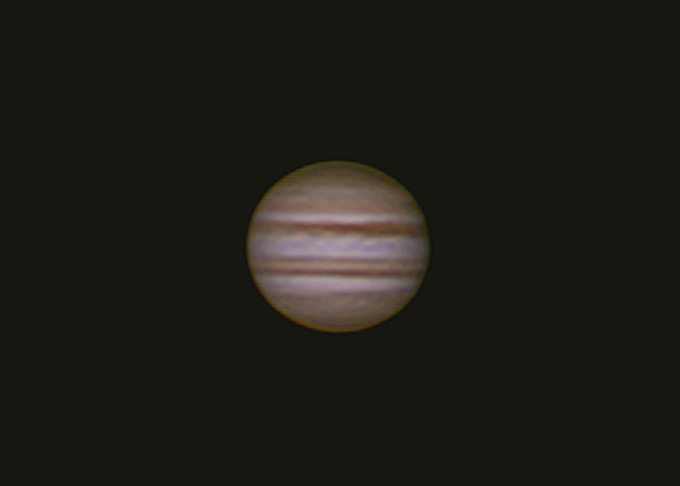
This picture was shot with my previous camera – check my new planetary photography set up and picture of Mars here and my best planetary shots.
Jupiter with Maksutov-Cassegrain 180mm – June 2009
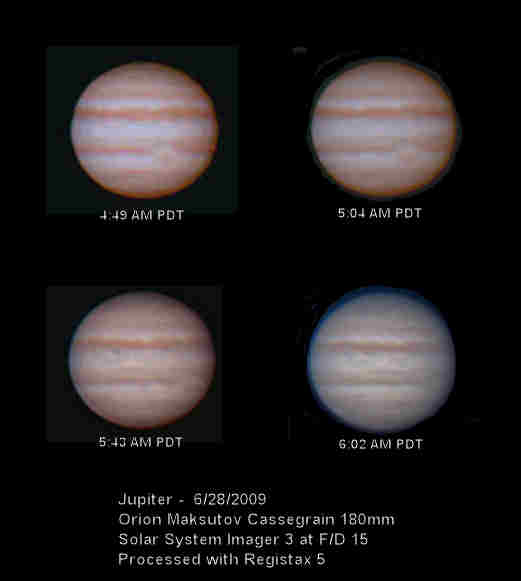
First pictures of Jupiter taken with my new Orion Makstukov-Cassegrain 180mm (7″) – at focal plane (F/15) – on 6/28/2009 – San Bruno, California.
(Note: this were my first planetary shots – I have much better high resolution planetary images here – most are done with the 180mm Mak Cassegrain)
This one was taken at 5:43 AM PDT.
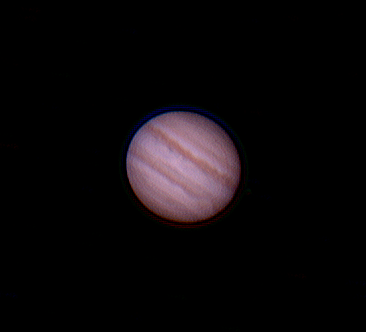
Orion Solar System Imager III – stack of 157 images – processed with Registax 5
Seeing: Mild / Moderate turbulence – can be seen at 150x.
Here are four images taken in a one hour interval – showing Jupiter’s rotation.
The last image was taken almost in full daylight.
Astrophotos with Orion 72ED Onyx – Winter 2008
Posted by jmeriaux in Astrophotography, Deep sky objects, Wide Field and Telephoto on May 24, 2009
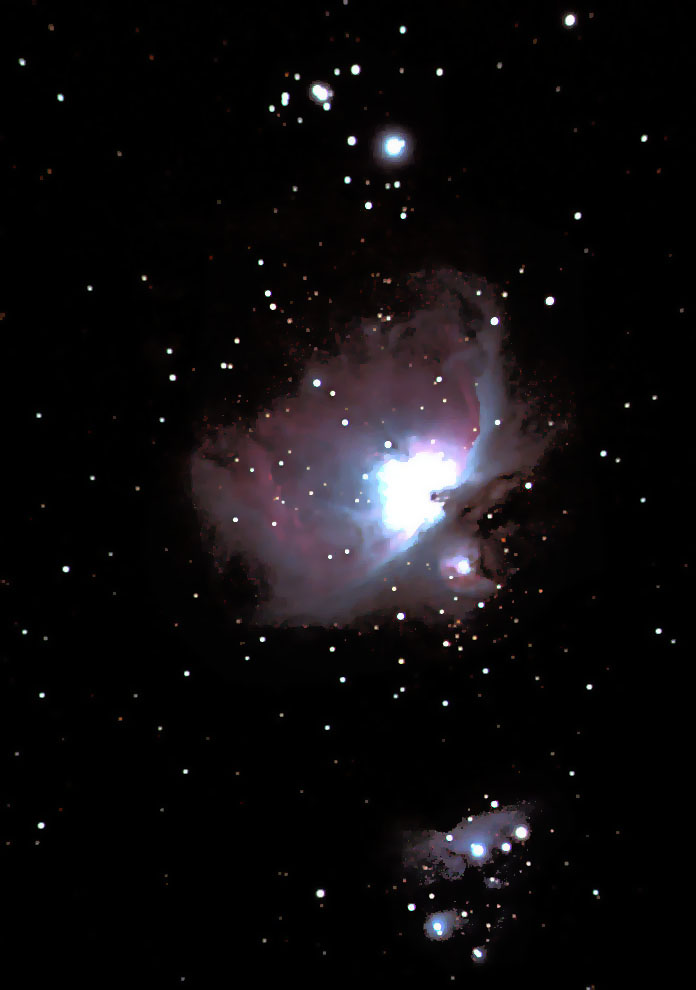
I bought the Orion 72ED on the 2008 black Friday at Orion, at a bargain price. Overall I would recommend this scope for its portability and overall quality/price ratio.
These pictures were taken without auto guiding, relying on the Mount polar alignment. I used a Celestron focus reducer for the M31 shot. Images have to be cropped – to hide coma on the edge.
DSLR: Non modified Canon XTi Rebel. Images processed with Max DSLR and Paintshop pro.
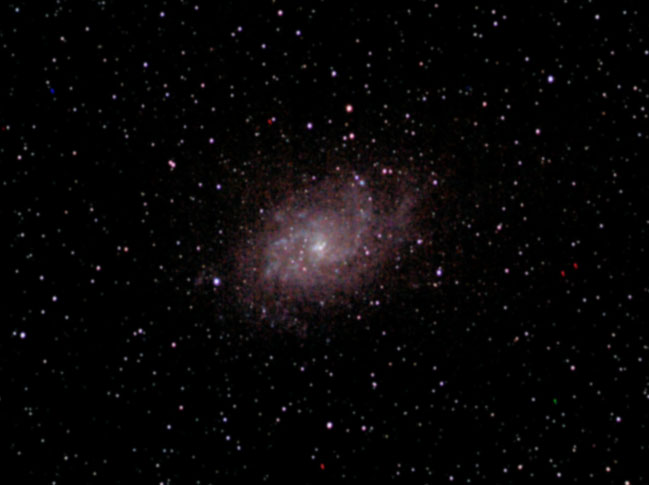
M33 – 5 exposures of 2 minutes each – 11/29/2008 – San Bruno – Orion 72ED
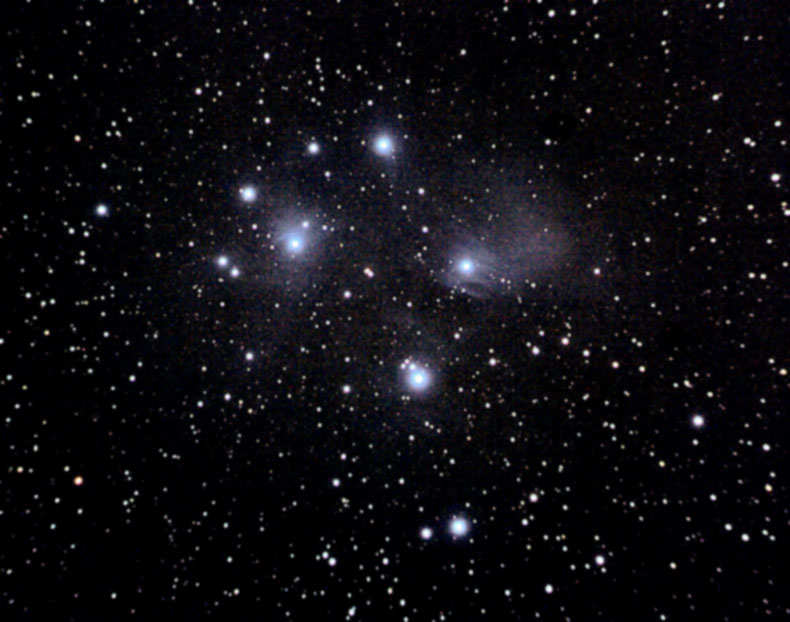
Pleiades – 11/30/2008 – 7 exposures of 2 min
M42 – 12 exposures of 2 min – 11/30/2008
Spring sky – 2009
Posted by jmeriaux in Astrophotography, Deep sky objects on May 24, 2009
Some pictures taken for San Bruno, CA – highly polluted site close from the SFO airport.
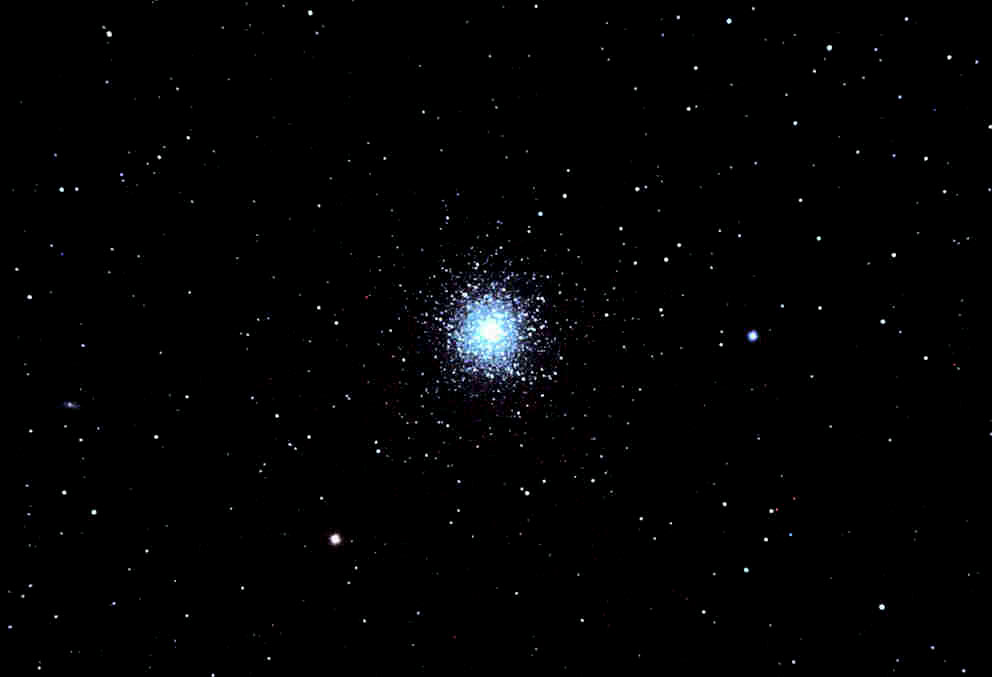
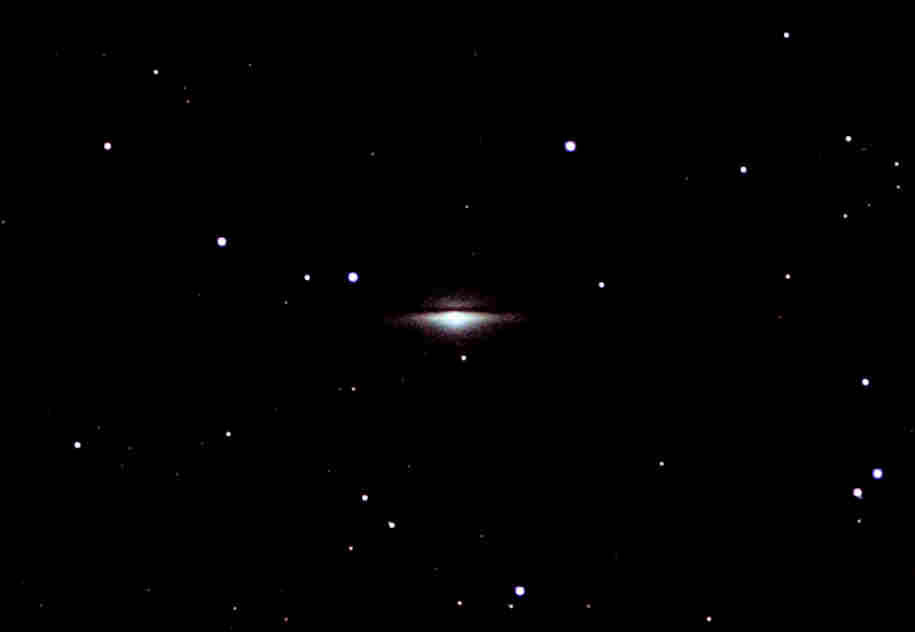
Telescope: Orion 102ED, with Canon XTi Digital Rebel, and Orion auto guider.
I used a Bahtinov Mask to focus the DSLR, and an Orion Skyglow anti-pollution filter. Pictures were processed with MaxDSLR and Painshop Pro.
M13 – 5/17/2009 – Stack of 8 images – 90 sec. exposure
m104 (Sombrero Galaxy) – 5/16/2009 – Stack of 8 images – 2.20 min exposure
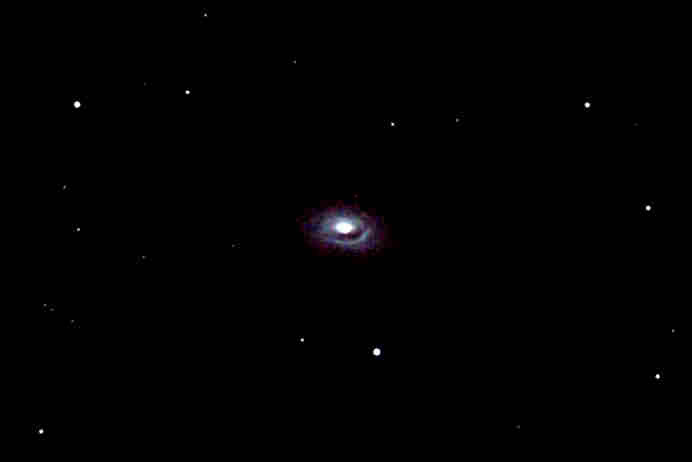
m64 – Black eye’s galaxy – 5/17/2009 – Stack of 7 images – 2.20 min exposure